Flow Visual
The purpose of the Flow Visual function is to display large grids and vertically trellised charts across multiple publication pages. By default, a visual containing a trellised chart or large grid can be re-sized to fit the page. However, this has certain limitations. For instance, if your trellised charts exceed a single page, the remaining charts in the visual will not be seen in the publication. And scaling a very large grid to fit the page may make it difficult or even impossible to read the grid's contents.
While this is resolved with a scroll function in both Discover and Present, static publications require a different solution. The Flow Visual function enables you to determine that the grid or trellised chart should 'flow' across multiple pages when exported.
Note: Flow Visuals are available with Enterprise licensing only.
How to Set the Flow Visual
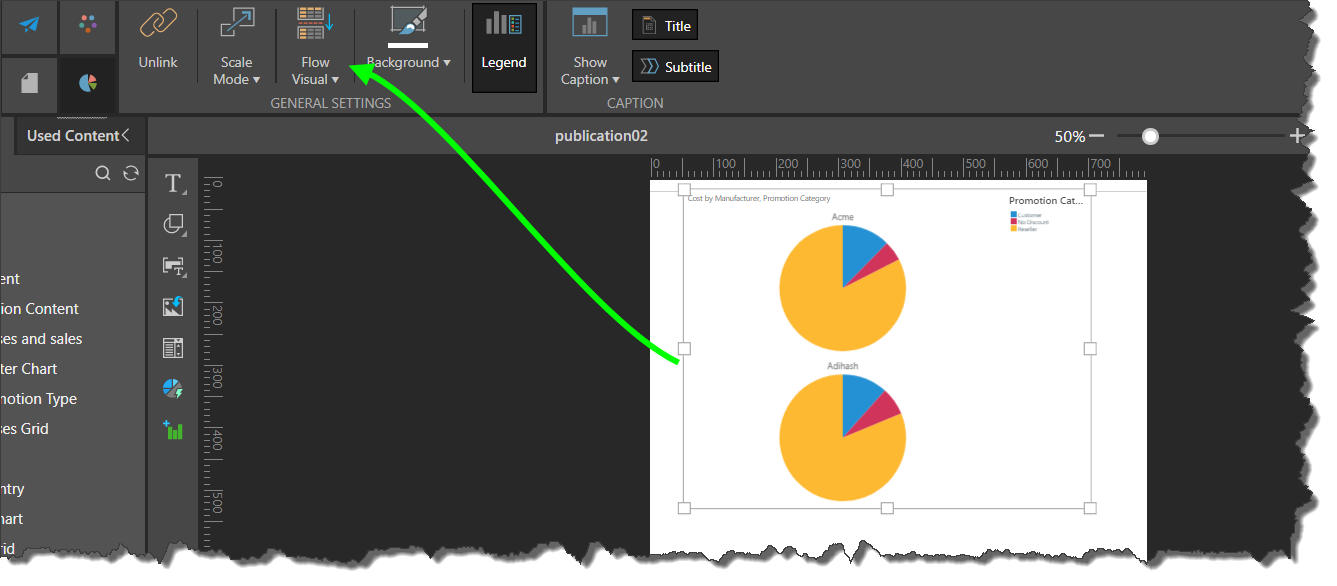
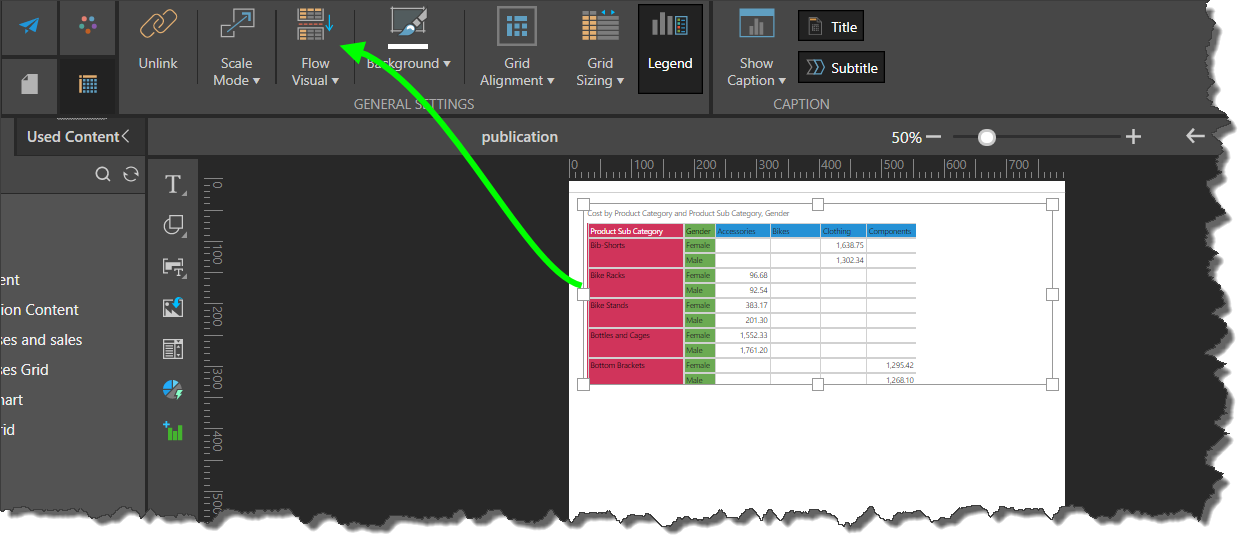
The Flow Visual function is located in the Component ribbon; click the visual to enable the function.
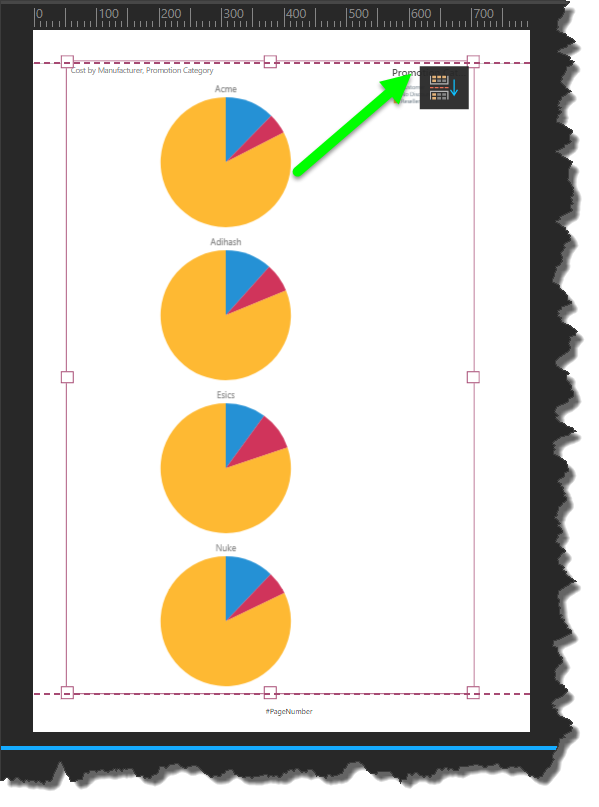
Click the Flow Visual function from the ribbon to enable the flow visual; the flow visual will be expanded to fit the page. Pink margins will appear along the top and bottom of the page, the visual's border will be displayed in pink, and the flow visual icon will appear in the top right corner of the visualization.
The flow visual margins can be adjusted to set the height of the flow visual for each page in the rendered report.
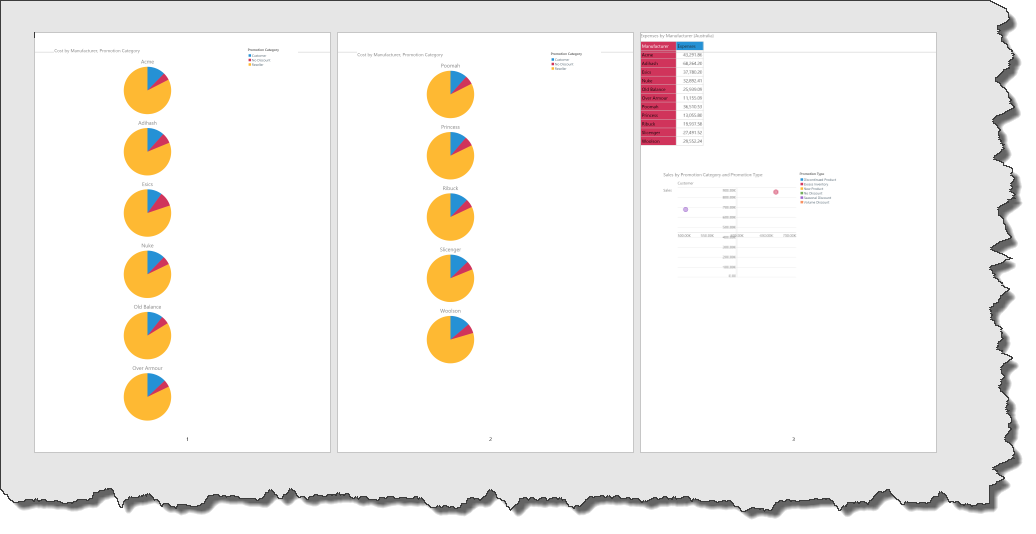
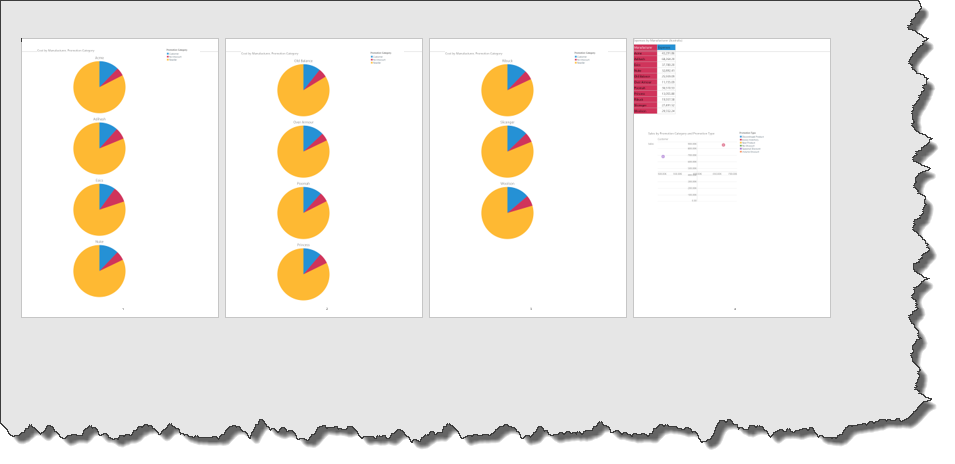
When the publication is exported, the flow visual will 'flow' across multiple pages:
Flow Visual Settings
Configure the Flow Visual Settings to determine the settings for the flow visual in the rendered report. When working with flow grids, you can show or hide row headers in the grid on each subsequent page following the first page.
For flow charts, you can determine the height of each chart row, or the number of chart rows per page. This in term determines the number of pages over which the charts will flow.
Open the Flow Visual drop-down menu and click 'Flow Visual Settings' to open the Flow Chart Options dialog. The options presented in the dialog depend on whether the given visual is a grid or chart.

Flow Grids
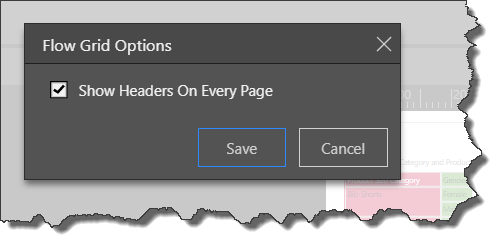
For grids, opening the Flow Visual Settings option will present the Flow Grid Options dialog. Here you have the option to 'Show Headers on Every Page'. Enable this option if you want to show the grid's row headers on every page of the flow visual.
In the image below, headers are enabled on every page, so we see the grid's row headers on each page of the flow grid:

In the image below, headers were not enabled on every page; accordingly, the grid's row headers are shown on the first page of the flow grid only:

Grid Sizing
Use the options in the Grid Sizing drop-down to set the width of the grid's rows and columns inside the flow visual.
With the grid selected, click the Flow Visual button from the Component ribbon:
Open the Flow Grid Options dialog (from the Flow Visual drop-down), if you want to disable 'Show Headers on Every Page':

After clicking Flow Visual, the grid will be expanded to fit the length of the page.
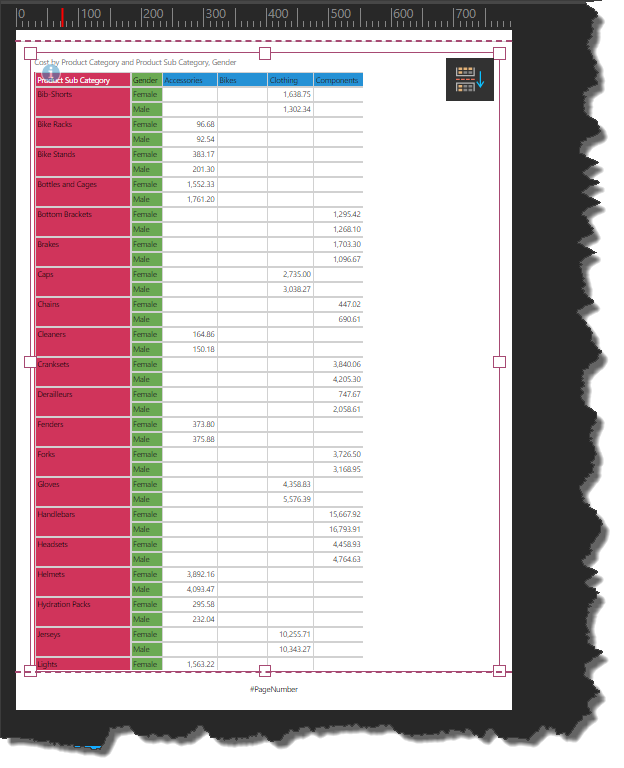
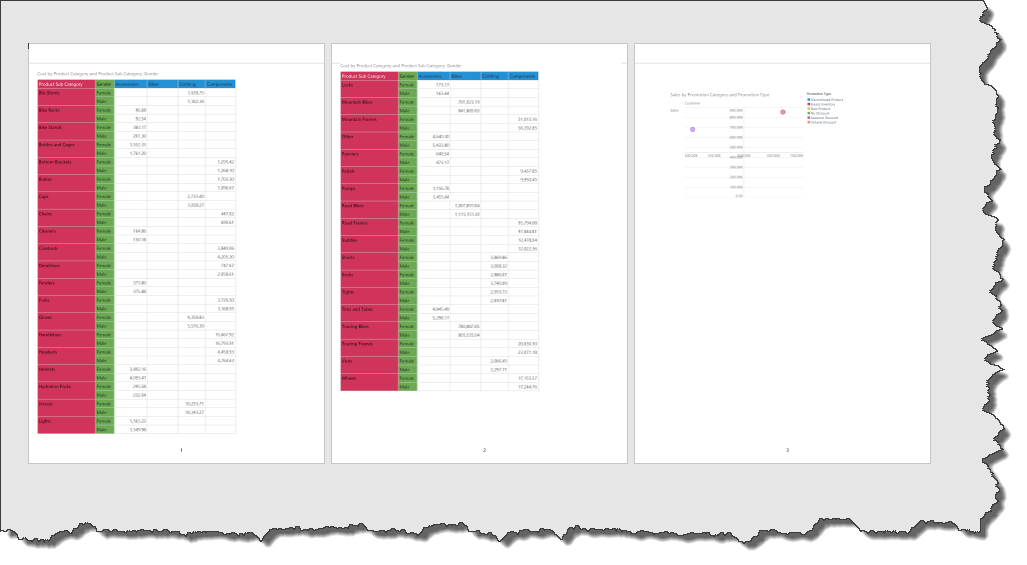
When exported, the grid will 'flow' across multiple pages of the report, enabling you to see every row in the grid:
Flow Charts
Vertically trellised chats can be converted in flow visuals. After selecting the Flow Visual Settings option from the Flow Visual drop-down, you'll be presented with the Flow Chart Options dialog.
The Flow Chart Options dialog will present you with 3 options which enable you to set the height or each chart row, or number of chart rows per page.
Flow Chart Options
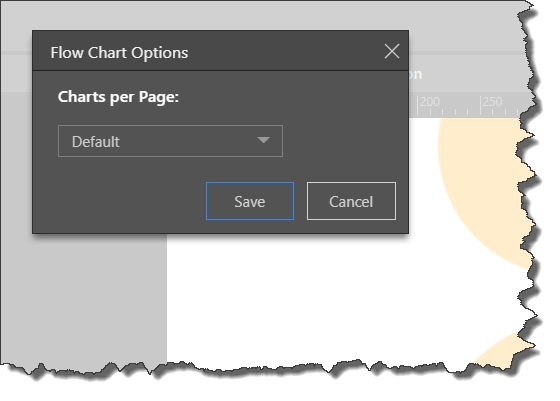
Default
The default charts per page sets the height of chart rows at 200 pixels, and the number of chart rows per page to 4.
Row Height per Chart
Set the chart height in pixels. The height of each trellised chart will be equal to the height you've specified, and Pyramid will determine the number of chart rows accordingly.
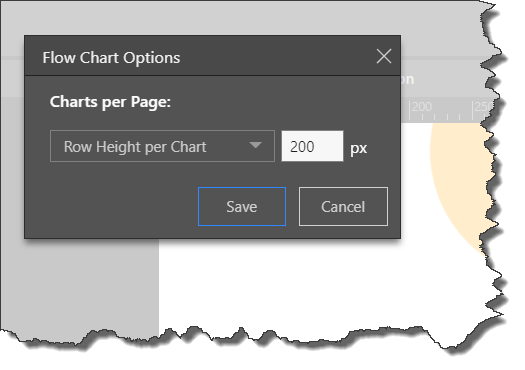
Chart Rows per Page
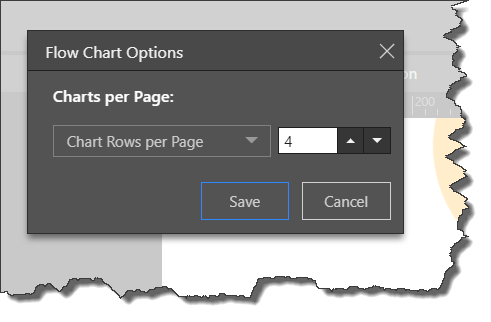
Set the number of chart rows per page of the flow visual. Pyramid will determine the size of each trellised chart based on the number of chart rows that you specify.
Custom Trellising
Custom trellising applied to trellised charts from Discover will override 'chart rows per page' specified from the Flow Chart Options dialog. However, the row height can still be set to determine chart height for each row of charts.
Set Charts per Page to 'Default':

In this example, the default setting aligns 4 rows on each page:

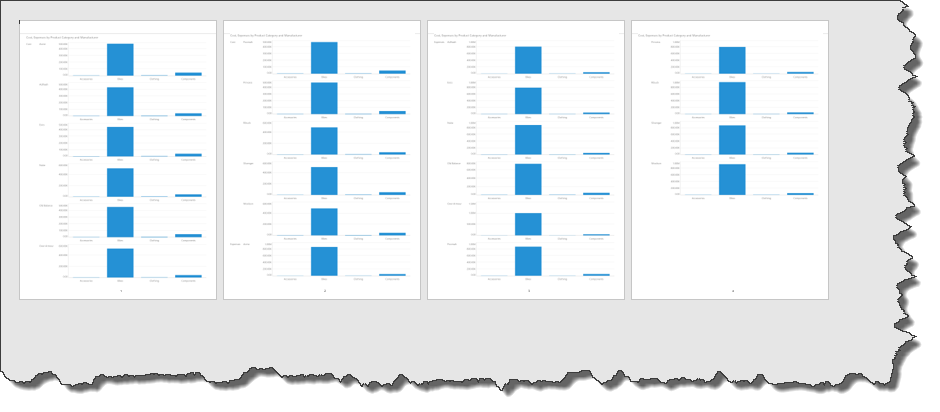
When exported, we see each flow visual page contains 4 rows:

Set the Row Height per Chart in pixels. In this example, the row height was increased from the default height (200 pixels) to 400 pixels.

In edit mode, we see the first page of the flow visual contains 2 rows:
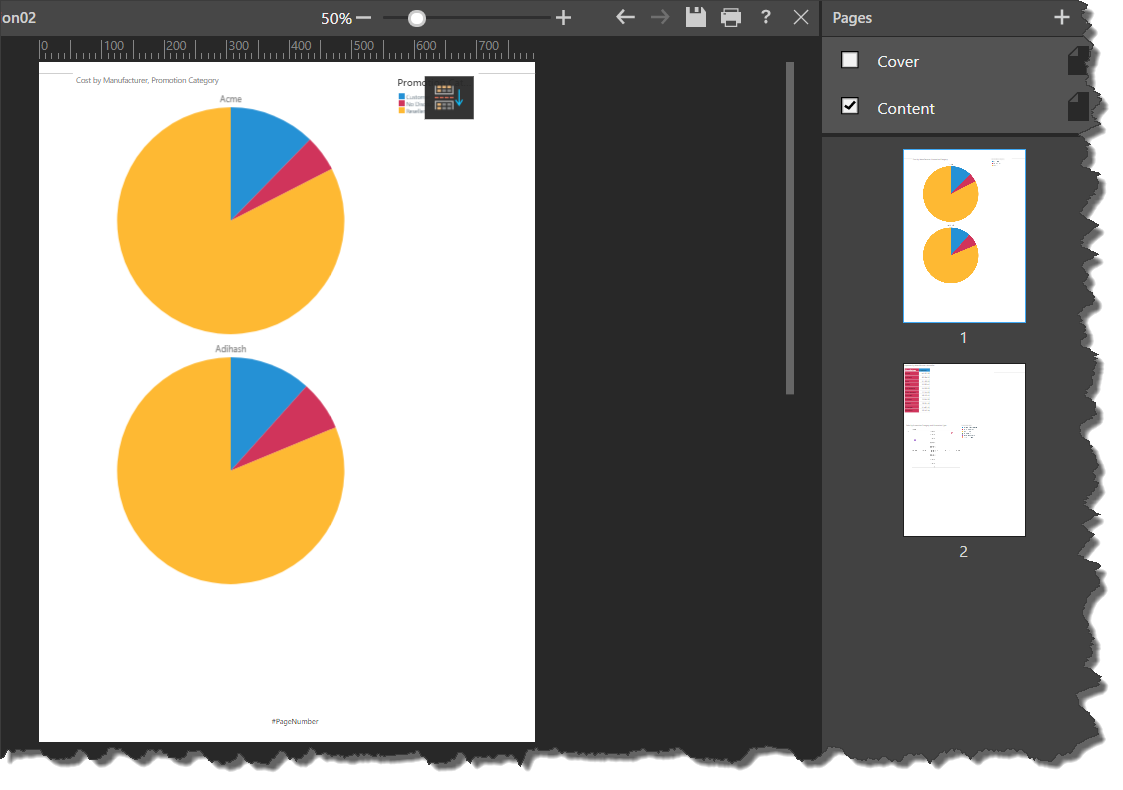
When exported, we see each flow visual page contains 2 rows, each of which equals 400 pixels:

Set the Chart Rows per Page; in this example, the rows per page setting was changed from the default (4) to 6:
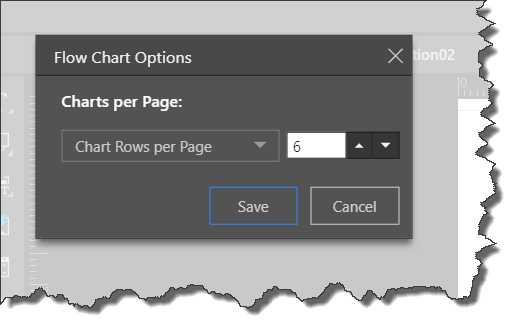
We see that in edit mode, the first page of the flow visual displays 6 chart rows:
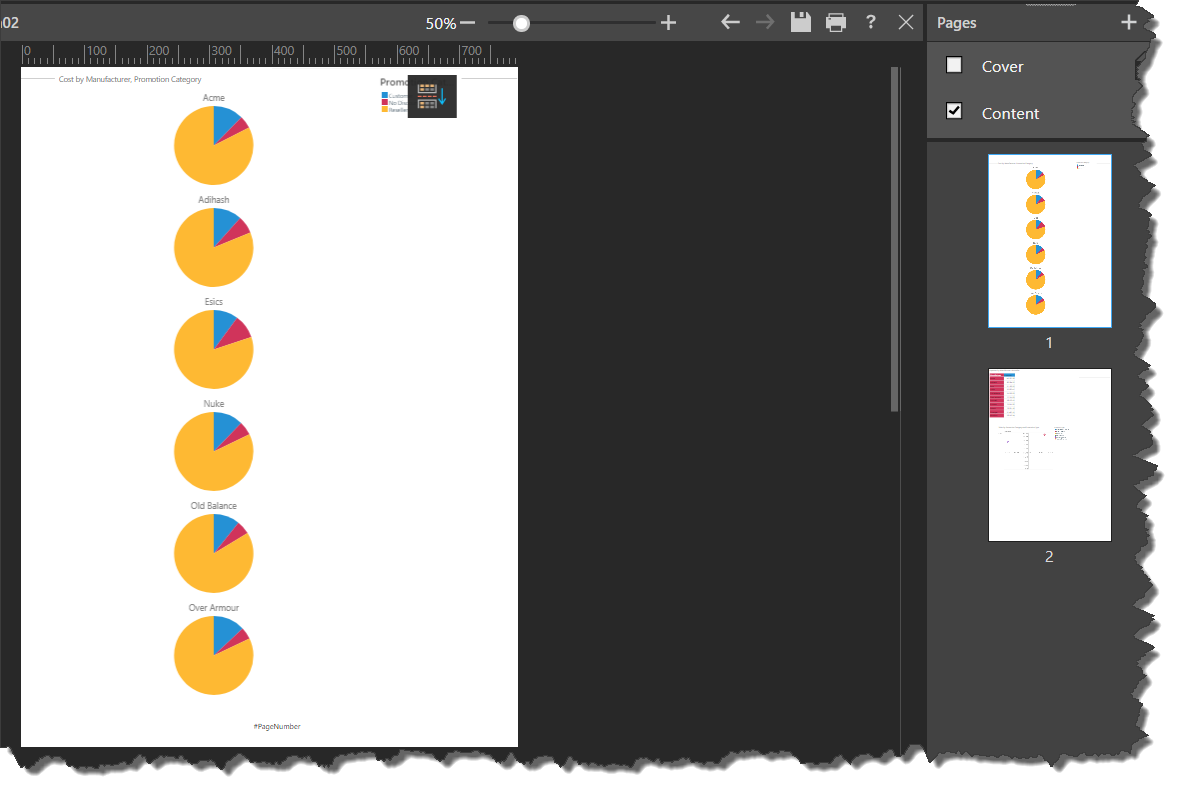
When exported, we see the flow visual across pages:
