Model Processed Date
Configure the Model Processed Date text field to show the date that the given data model was last processed when the presentation is launched in runtime. This is a useful way to show how recent the data in your presentation is. Of course, the more recently the model was processed, the more recent and relevant the data is.
As the text field is dynamic, the data rendered at runtime will automatically reflect the most recent process date. This means that if your model is scheduled to be processed each day, for example, the text field will be updated after each processing.
Note: this feature required Standard or Enterprise licensing.
Add a Model Processed Date
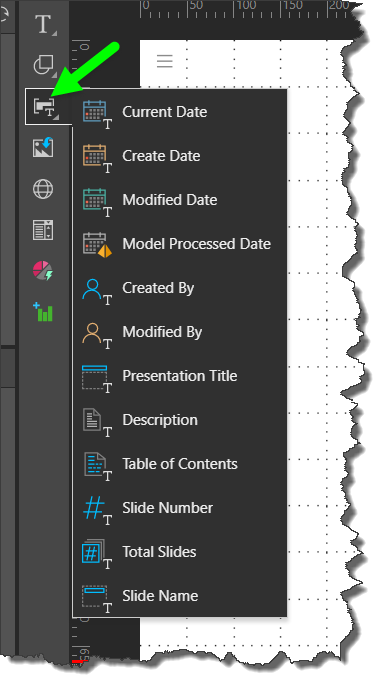
Add the Model Processed Date from the Add Text Field button:

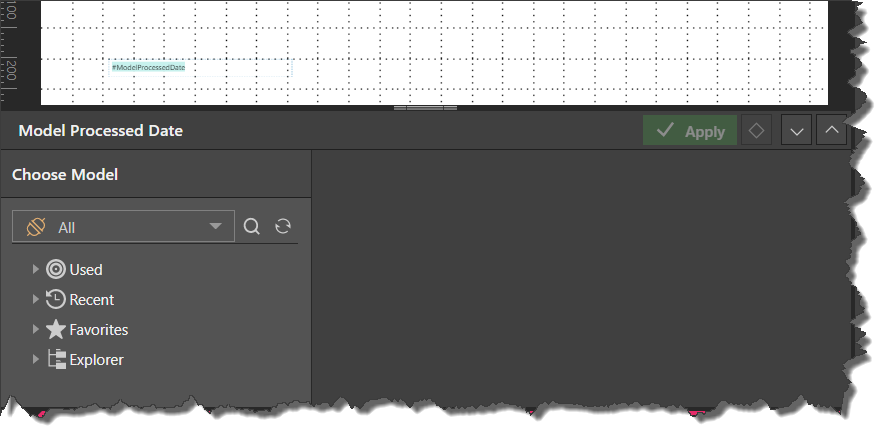
The '#ModelProcessedDate' tag will appear on the canvas, and the corresponding panel will open automatically:

Start by choosing the required data model from the data model tree on the left; once a model is selected, the next window (green arrow) will show options for date and time formats.
Date/ Time Format: click the drop-down to select the desired formatting for date and/ or time (blue highlight below). Choose "None" if you don't want to display the model process date - this way, you can display the model name without the date.
Model Name Options: choose 'None' if you don't want to display the model name. Choose 'Before' to display the model name before the date, or choose 'After' to display the model name after the date (orange highlight).
Preview: see a preview of how the Model Processed Date field will appear in the presentation (yellow arrow).

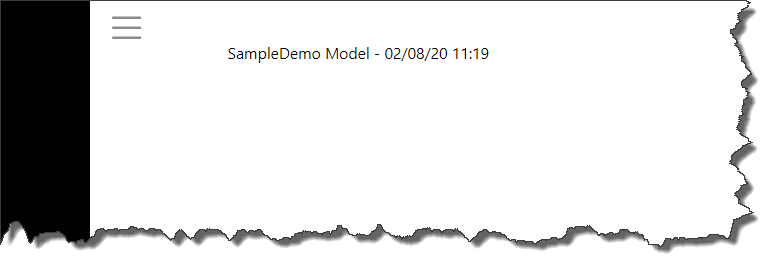
After clicking Apply, run the presentation to see the rendered model processed date; here the model name was placed before the date/ time:

Custom Date/ Time Format
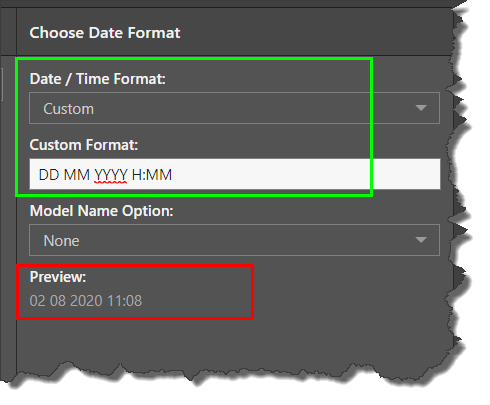
You can enter your own custom Date/ Time format by select 'Custom' from the drop-down. Then write your formatting in the Custom Format Field. A preview of your custom formatting will appear below (red highlight).
