Active Directory Federate Services (ADFS) is the SAML provider that comes with Microsoft Active Directory. The following guide is to help the deployment of an ADFS SAML configuration as the authentication provider for Pyramid.
Important: If Same Site client security is set to Strict when using SAML authentication, this may cause a loop redirect between Pyramid and the SAML provider, as cookies are prevented from working across different web domains. This shouldn't be an issue if your SAML provider and Pyramid are within the same web domain.
Setup in ADFS
Connect to ADFS
Connect to your local ADFS.
Configure ADFS
Open ADFS Management:
- Go to Relying Party Trusts. Click Add Relying Party Trust and add your Pyramid URL.
For details about creating a relying party trust, click here.
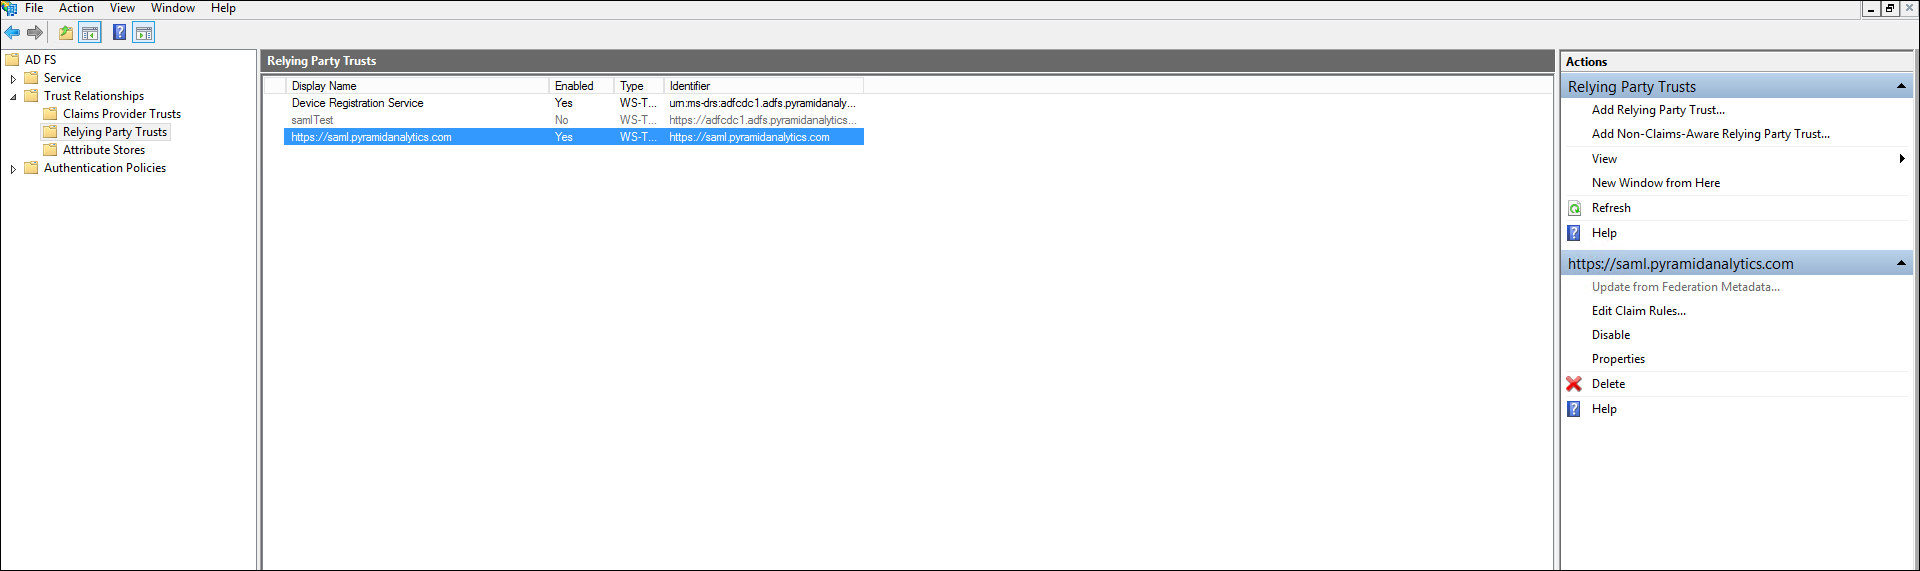
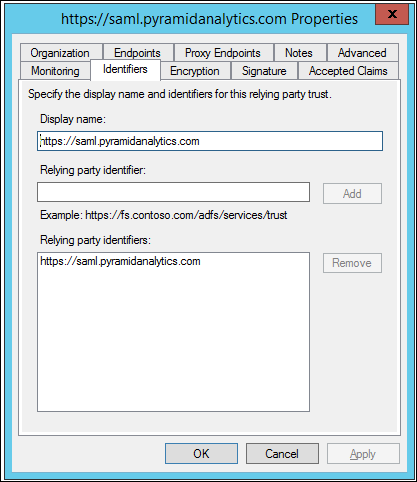
- Select the Pyramid URL from the list of Relying Party Trusts. Go to the Identifier tab, add the Pyramid URL as the Display name and Relying party identifiers.
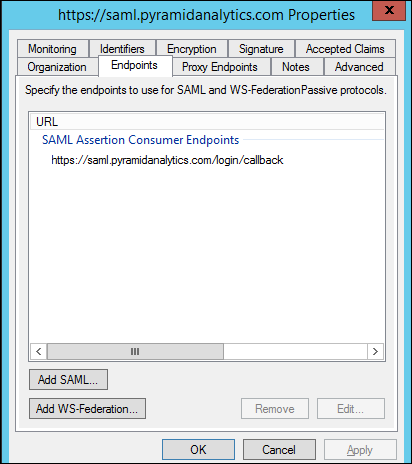
- Click the Endpoints tab. Click Add SAML and set binding as POST and Trusted URL as https://www.pyramidanalytics.com/login/callback
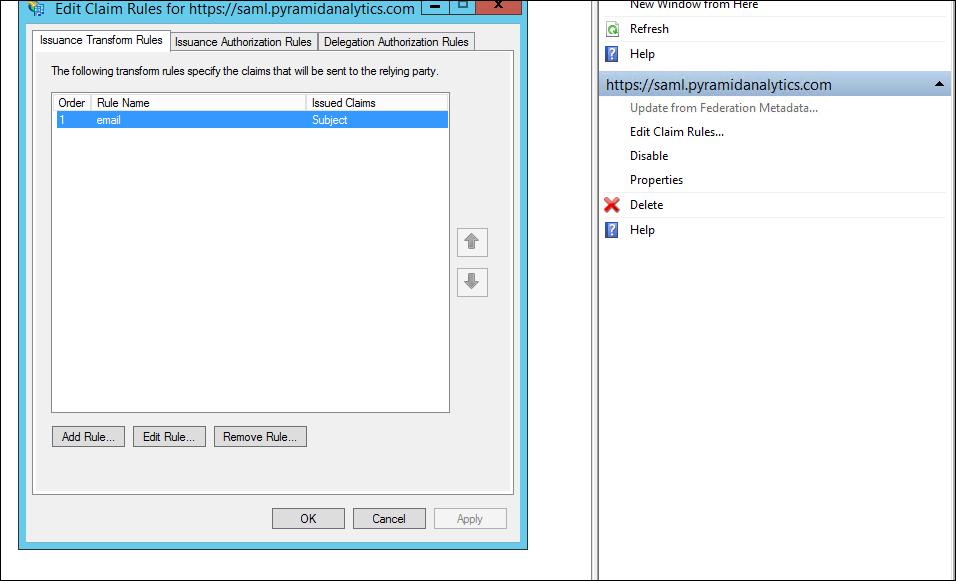
- Right-click on the Pyramid URL and select Edit Claim Rules. Set a rule to match a value to the subject token. This value should be the principal name.
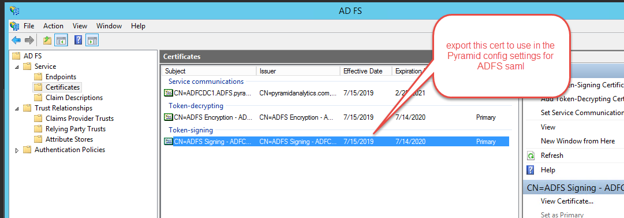
Export the ADFS Signing Certificate
Export the ADFS Signing certificate to a file. The contents of the file will must be pasted into the Pyramid ADFS SAML configuration settings later on.
Update Web.Config
Important: You must make this update on all Pyramid web servers that are running IIS.
An additional setting in IIS must be configured. By default, the web.config file can be found in the following location on all Pyramid web servers running IIS:
"C:\program files\pyramid\repository\iis\web.config"
Change your web.config file to the following:
<?xml version="1.0" encoding="UTF-8"?>
<configuration>
        <system.webServer>
                <security>
                        <requestFiltering>
                                <requestLimits maxAllowedContentLength="2147483648" />
                        </requestFiltering>
                </security>
                <rewrite>
                        <rules>
                                <rule name="ReverseProxyInboundRule1" stopProcessing="true">
                                        <match url="(.*)" />
                                        <action type="Rewrite" url="http://localhost:8181/{R:1}" />
                                </rule>
                        </rules>
                        <outboundRules>
                                <rule name="302" preCondition="302">
                                        <match serverVariable="RESPONSE_Location" pattern="(.*)#redirect=(.*)" />
                                        <action type="Rewrite" value="{R:2}" />
                                </rule>
                                <preConditions>
                                        <preCondition name="302">
                                                <add input="{RESPONSE_STATUS}" pattern="3[0-9][0-9]" />
                                        </preCondition>
                                </preConditions>
                        </outboundRules>
                </rewrite>
                <defaultDocument>
                        <files>
                                <clear />
                                <add value="readme.html" />
                        </files>
                </defaultDocument>
        </system.webServer>
</configuration>
Copy the Signature File
Open the Signature file that you exported at Step 3 and copy it.
Setup in Pyramid
Capture SAML Settings
From the Admin console:
- From the main menu, click Security > Authentication and click Change Provider.
- From the Provider dropdown list, select SAML.
If you are moving to a new authentication provider, even if you only just installed Pyramid, you need to use Change Provider. You should only change the details in the Authentication page where you are making minor changes for the same authentication provider; for example, to change a password or update a certificate.
In the SAML Settings panel in Pyramid, enter the following details as per the general SAML setup.
The details that are specific to ADFS are:
- Vendor: Select ADFS.
- Certificate (Base64): Copy and paste the certificate that was exported during Step 3 into this field.
Create Initial User
Enter the initial user details as explained here:
- User Name: The internal user name of the initial user. This is a bypass for the user when working outside of SAML.
- Password: The internal password for the user. Only used if manually logging in without the SAML framework.
- First Name: The first name of the initial user.
- Last Name: The last name of the initial user.
- Email: The email of the initial user.
- External ID: The SAML login ID of the initial user. This is typically in the format someone@domain.com and is the critical element that will enable Pyramid to match the incoming SAML assertion with the user account.
Tip: To login manually, you can use the /login/login.html or just /login entrypoints.
Get your External ID
- Click Test.
- Login to Pyramid ADFS.
- Copy the domain name from the subject field and paste it into the External ID field in Pyramid.
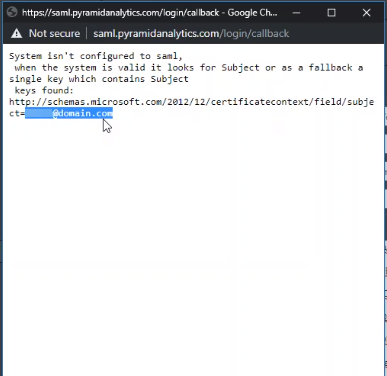
A request is sent to the ADFS URL.
You will see a page with the message "System isn't configured to SAML."
Save your changes
Click Apply to start the provider change-over process. At this stage, the existing users (attached to the previous authentication system) need to be converted over.
Admins will be prompted to either:
- Delete all existing users and their local content. When users are deleted by this process, all their private data (the discoveries, publications, and so on that are stored in their My Content Folder) is "soft deleted." Soft deleted files are moved into the Deleted users content folder and can be restored by an admin if needed.
- Convert old users to the new provider (through the user conversion wizard), and keep their content
Since this exercise cannot be rolled back once the changes are committed, admins need to step through this exercise carefully.
- Click here for a detailed explanation and walkthrough of User Conversion
Once you have made your selection, the browser will ask you if you want to leave the site; select Leave. You will be directed to your ADFS login page.
Login
Login with your ADFS organizational account. You will be directed to the Pyramid application.