When a Smart Model is built, a database and data model are produced - or materialized. The materialized model is later accessed via Discover, where it is used to build queries.
The underlying logic of the materialized model is stored in a 'model definition file' in the content manager. By default, the definition file is saved to the My Content folder of the user who created the model. Further, when the smart model is built, the materialized database and model can only be accessed by the user who created the model. In order to grant access to the materialized model to other user roles, you must set security for the materialized assets; this is done from the model definition file, or from the Materialized Data Manager.
Model Definition
To manage access to the materialized model from the definition file, open the file from the content explorer and go to the Security tab (purple arrow below). Select which roles should have read or write permissions to the database and model:
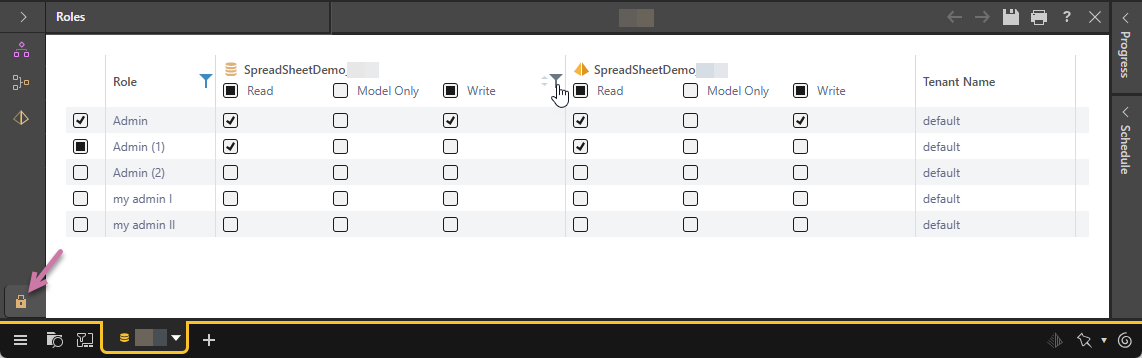
Once you've set the security roles, save changes to the model by clicking the save icon, and then reprocess the model to apply the security changes.
Materialized Data Manager
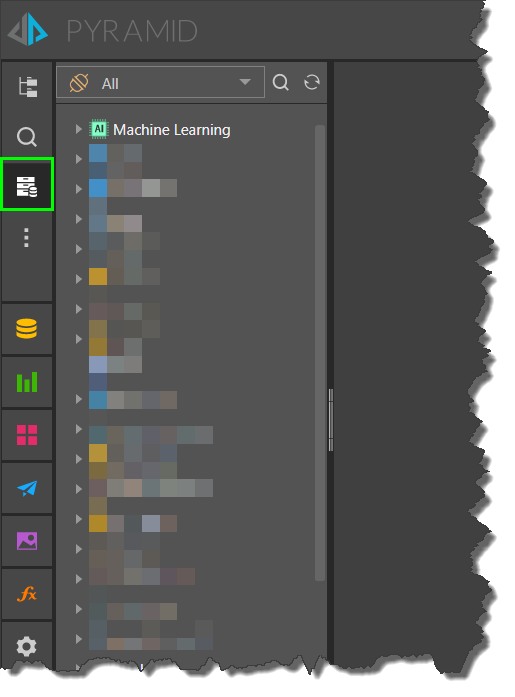
To set materialized model security from the Materialized Data Manager (MDM), open the content manager and navigate to the MDM (green highlight below). You will be presented with a list of servers; expand the server where the relevant model is stored.
Once the server has been expanded, you will be presented with a list of databases stored on the server. Click on the relevant database to manage its metadata and security.
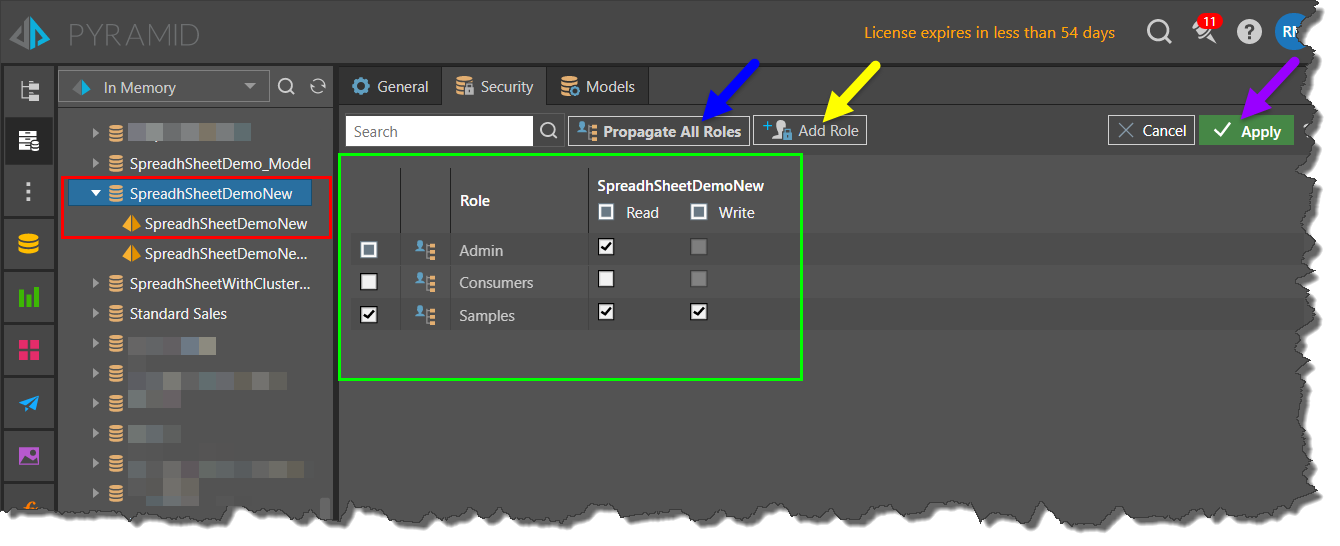
From the database's Security tab, assign read and/ or write permissions to the relevant user roles. To assign roles to the model:
- Click Propagate (blue arrow below) to apply the database permissions to the model, or;
- Expand the database on the left to open its list of data models (red highlight below); select the relevant model and set its security permissions manually.
If the role(s) you want to assign the database don't appear in the list, click 'Add Role' (yellow arrow below) to search for a role.
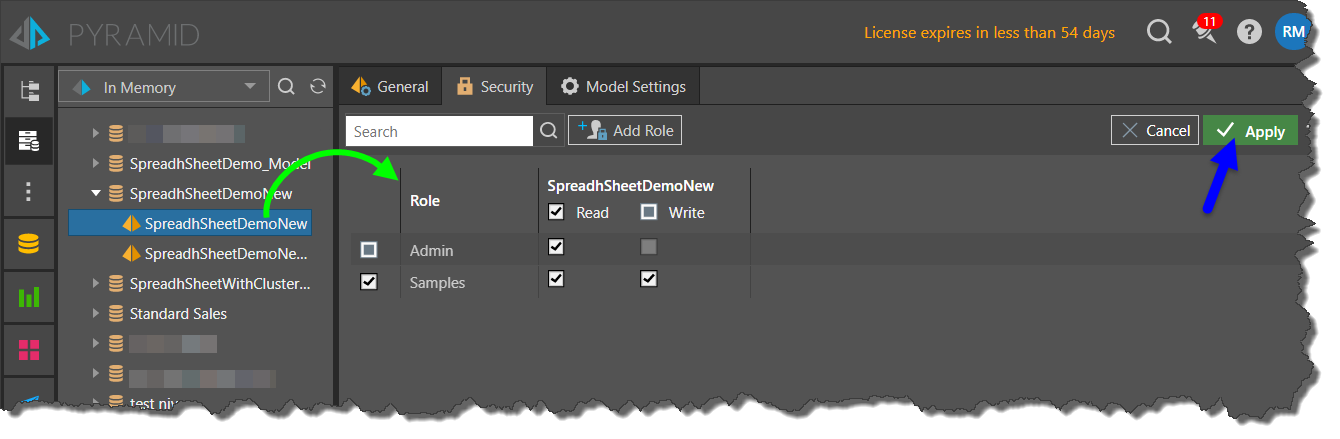
Be sure to click the Apply button (purple arrow below) to confirm changes.
You can assign roles to a materialized model in the same way, by expanding the database's list of models and select the relevant data model.
- Click here to learn more about the Materialized Data Manager.