You can incorporate static images and shapes into your presentations and use them as design elements. They can be useful as static assets like logos, icons, diagrams, or other design elements, and can be added to either a slide to illustrate some content; for example, an icon that indicates some text is a Warning; or to your master (adding it to every slide in your presentation); for example, you can add your corporate logo to every page by just adding it once to your Content Master.
Tip: Once added, shapes and images support a range of dynamic functionality, including jump actions, dynamic tooltips, and dynamic infographic capabilities (you can open and edit shapes in Illustrate).
Adding graphics to your presentation
Open a slide or master
Where you want to include your image depends on your requirements:
- To add your image to a single slide, open that slide on the canvas by selecting it in the Slides panel.
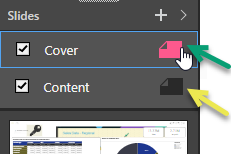
- To add your variable to all slides or to the cover page master, select the master option above the Slides panel:
- Select Cover (green arrow below) to add the image to the cover of the presentation.
- Select Content (yellow arrow) to add the image to the master that controls the appearance of every other slide in the presentation.
Add a shape
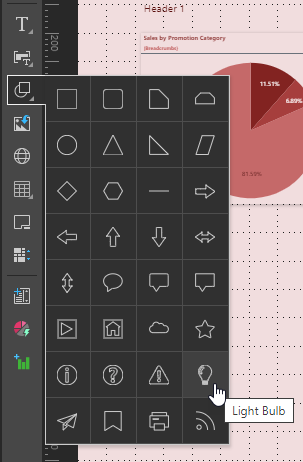
Shapes are preset graphics that you can add to your presentation as design elements. For example, they may act as banners that are placed behind some text to make it stand out, or an icon (such as the light bulb symbol) that is used to draw attention to a text box that includes some conceptual information.
To add shapes to your presentation:
- From the Toolbox, right-click Shapes and select the required shape from the options.
- Click the canvas at the point where you would like to add your variable.
The shape is added to the canvas and can be moved, resized, aligned, copied, cut, or pasted. See below for more information.
Import an Image
Import your own static images into your presentation, where they can be used as static design elements. For example, you may add your corporate logo or icons from your own branding scheme.
There are two ways to import your own images:
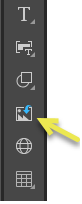
- From the Toolbox, click the Import Images button (arrow below), then find and select the required image from its folder location.
- Use Windows Explorer to find the image in its folder location and drag and drop it onto the slide canvas.
The image is added to the canvas and can be moved, resized, aligned, copied, cut, or pasted.
Supported Image Formats
The following image formats may be imported:
Raster Images
- PNG
- JPEG
- BMP
- GIF
Vector Images
- SVG
- SVG_XML
Format your shape or image (optional)
You can format the images and shapes on your slide by resizing them, moving them to a more appropriate location on the canvas, changing their rotate and size settings, and so on. For shapes, you can also define border and color options from the overhead Component ribbon. As with any other content item, you can use the standard editing options on the right-click menu, the component ribbon, and the canvas to manage your image or shape formatting.