All publications have a page size (A4, letter, "thin," and so on), and documents have a page orientation (landscape or portrait). These settings apply to every page of both the document that you are editing in Publish Pro and (where applicable) to the published document created from that. These layout settings ensure that the document you are editing looks as similar as possible to the final publication, and that the final publication is a size and layout that satisfies your reader's reading and printing needs.
You set your page size and page orientation on create and can also customize them at any time from the Design ribbon, including setting your pages to a custom size.
Note: If your publication builds an output document with a set page size and orientation (HTML, PDF, PNG, Power Point, and Word), you should make sure your settings allow your reader to both read and, where appropriate, print the document they receive. Typically, this means selecting a preset size that is relevant to their region.
Specifying your page layout
Setting your initial page size and orientation
When you create a new publication, you select the theme and output type, and then specify a page size and, for documents, a page orientation (orange highlight below) in the New Publication wizard:
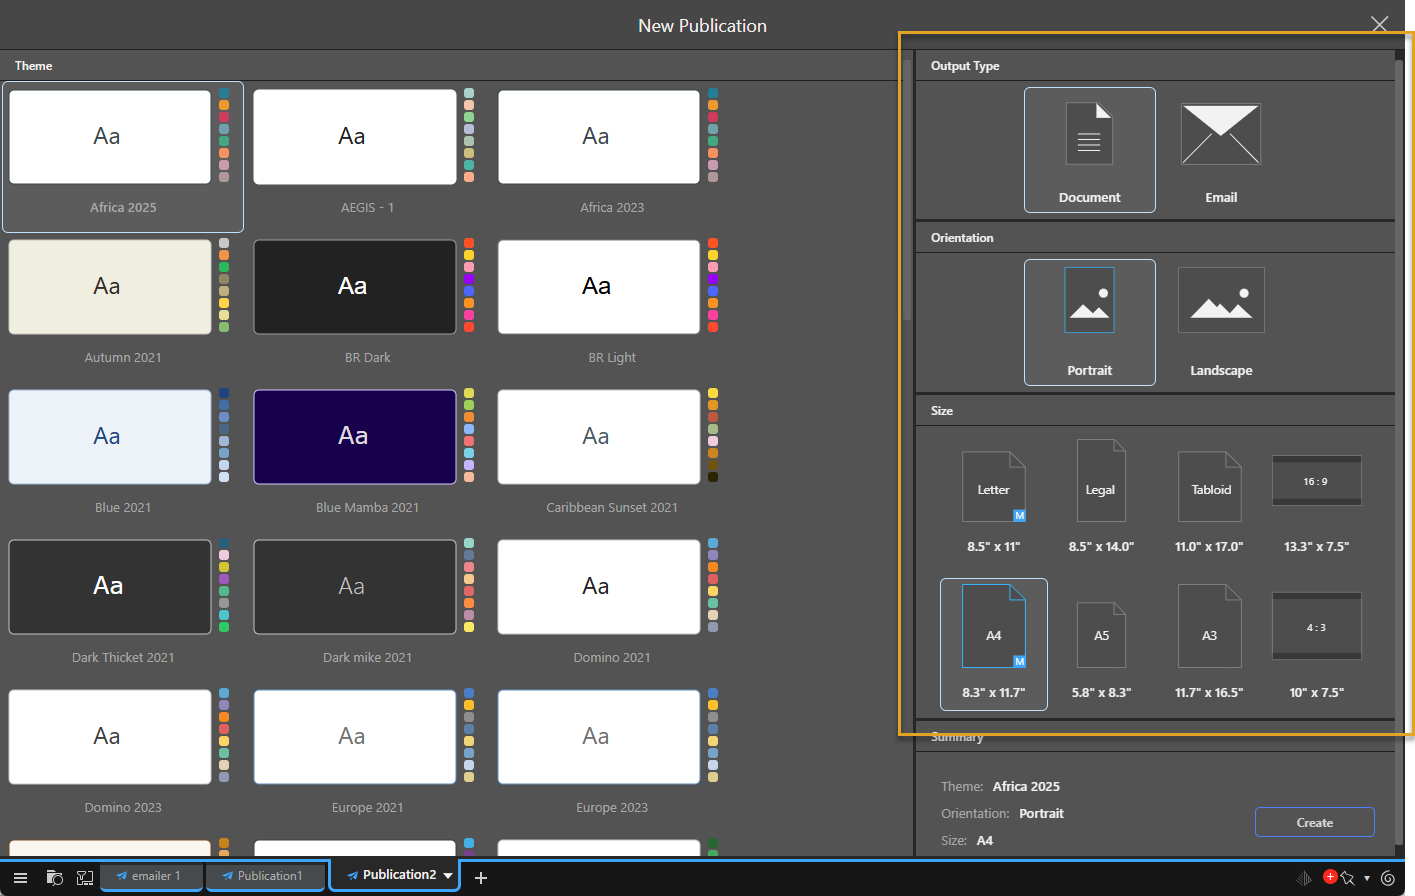
Note: You cannot select a custom page size in this wizard. If you want to create a custom sized publication, you need to create the publication using a preset size and then edit it to apply the custom size after it has been created.
- Click here for more information about building a publication
Change your publication's page size
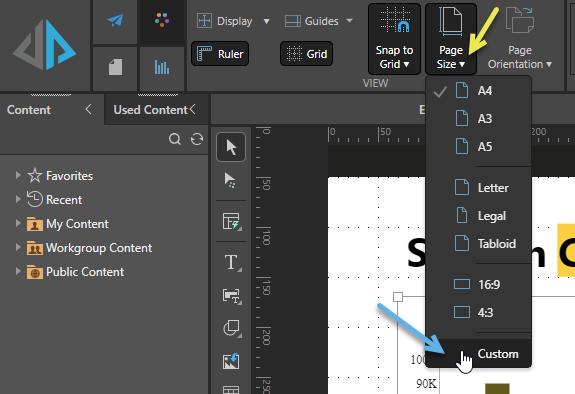
If you want to change an existing publication's page size, you can use Page Size dropdown list on the Design ribbon:
Tip: If you are creating a document that you intend your readers to print, you should consider the typical printing size in their region. This may mean it is appropriate to create a Letter sized PDF for your team in North America or an A4 sized publication for your teams elsewhere.
From the Design ribbon:
- Select the page size to apply to your publication:
- To apply one of the preset sizes, click Page Size (yellow arrow) and select the preset size you want to use from the submenu.
- To apply a custom size, click Page Size > Custom (blue arrow). The Page Size dialog opens. Select the appropriate units for your pages, specify your required width and height, and click OK to apply your changes.
- Select one of the following options:
- Yes, replace: Replace the current master with the master associated with the new page size. You should select this option if your different publications have different branding depending on their size and layout.
- Yes, delete: Stop using the current master. Warning: Selecting this option means your resized publication will lose its old master-driven appearance settings.
- No, keep existing: Keep the current masters (those associated with your old page size). You should select this option if you don't want to change your masters at all, you only want to change your publication's page size.
The Confirm Override dialog opens. This dialog indicates whether your new page size is associated with a set of master pages in admin ("pre-defined master pages") and allows you to select the masters to use for your publication after it has been resized.
The page size for your publication and any associated master page changes are applied. These changes affect every page in the publication.
Preset / Standard sizes
Document Sizes
International sizes:
- A4
- A3
- A5
US sizes:
- Letter
- Legal
- Tabloid
Common aspect ratio sizes:
- 16:9
- 4:3
Inline Email Sizes
- Thin
- Medium
- Wide
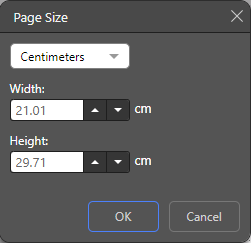
Page Size dialog
Use this dialog to set the page size to a custom value. The dropdown list at the top of this dialog indicates the units that your custom page size should be defined in. You can then specify an exact size in those units from the Width and Height fields:
Note: You can only set a custom width for an Email publication.
Change your publication's page orientation
If you want to change an existing publication's page orientation, you can use Page Orientation dropdown list on the Design ribbon:
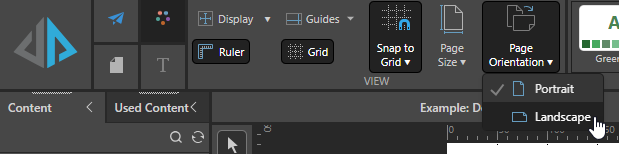
- Click Page Orientation > Portrait to orient the pages in your publication vertically.
- Click Page Orientation > Landscape to orient the pages in your publication horizontally.
Note: This option is disabled for an Inline Email publication.
What next?
Resizing or re-orienting your pages might mean that the content items on your pages are no longer optimally laid out. For example, if you made your page size smaller, your content items may now be squashed together or overlapping. You are, therefore, advised to do one of the following:
- Use the Auto Layout tool to improve the layout of your content items automatically.
- Check every page of your publication, and manually adjust the content item layout as required.
Tip: If you chose to keep your old master when moving to a new page size, you may find that some common features (headers and footers, corporate logos, and so on) are now positioned inappropriately. For information about changing your master layout to fix any issues like this, see Master Pages in Publish Pro.