Customize the hierarchies that are shown to users in their Dice, Add, and Swap context menus. This is useful where there are actions and hierarchies that you want to disable due to privacy or governance, or where "slimming down" model access enhances the user experience for viewers. A typical example of this functionality may be to restrict the size of the submenu when your users are performing a dice or swap action.
Note: The Hierarchy settings are set per data model and apply across the entire presentation.
Changing model access
The Runtime Settings are managed from the Runtime options on the Presentation ribbon (blue arrow):

- Click Runtime Settings (green arrow, above).
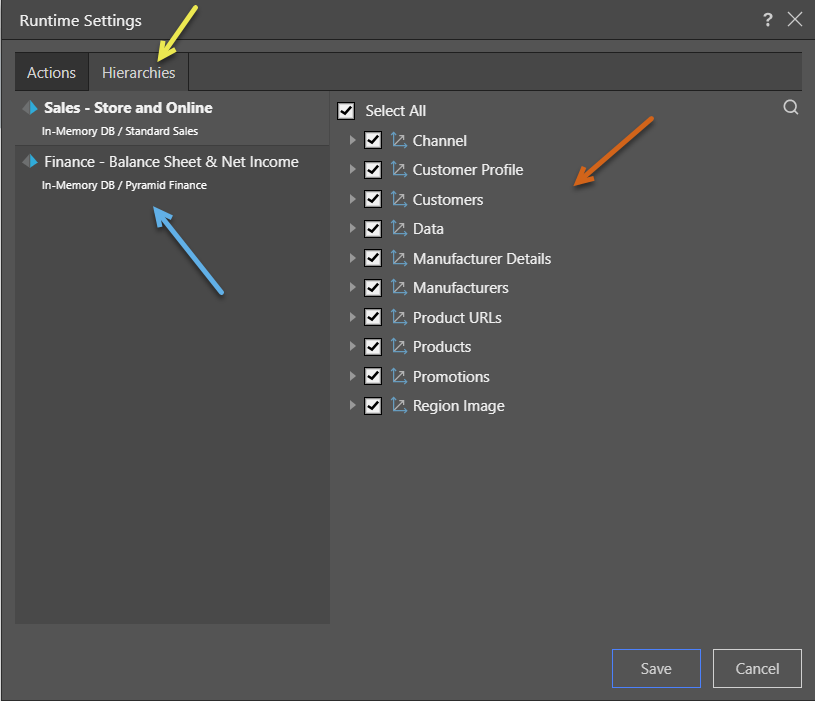
- Click the Hierarchies tab (yellow arrow, below).
- If the visuals in your presentation use more than one model, each model is presented in a list on the left. Select the model whose access you want to limit from this list (blue arrow).
- From the list on the right (brown arrow):
- Select the checkbox for any hierarchy that you want to make visible.
- Clear the checkbox for any hierarchy that you want to hide.
- Repeat as required for each model.
- Click Save to close the dialog and save your changes.
The Runtime Settings dialog opens with the Actions tab open.
Tip: If the Hierarchies tab is not displayed this may be because you have not yet added any visuals to your presentation.
If there is only one model in the presentation, the model list will not be visible.