If JavaScript actions have been enabled from the Admin console's Client Security options, users can opt to execute JavaScript in the browser. To create a JavaScript action, write an expression in PQL in the text editor; the output when the action is selected will be JavaScript. You can incorporate the Generative PQL Function into your statement to have results returned by the underlying LLM.
Note: This option is only exposed if it has been enabled from the Admin console.
Opening the Action Panel
To open the Action panel, click Actions from the Home ribbon:

The Action panel opens at the bottom of the page.
Action Panel
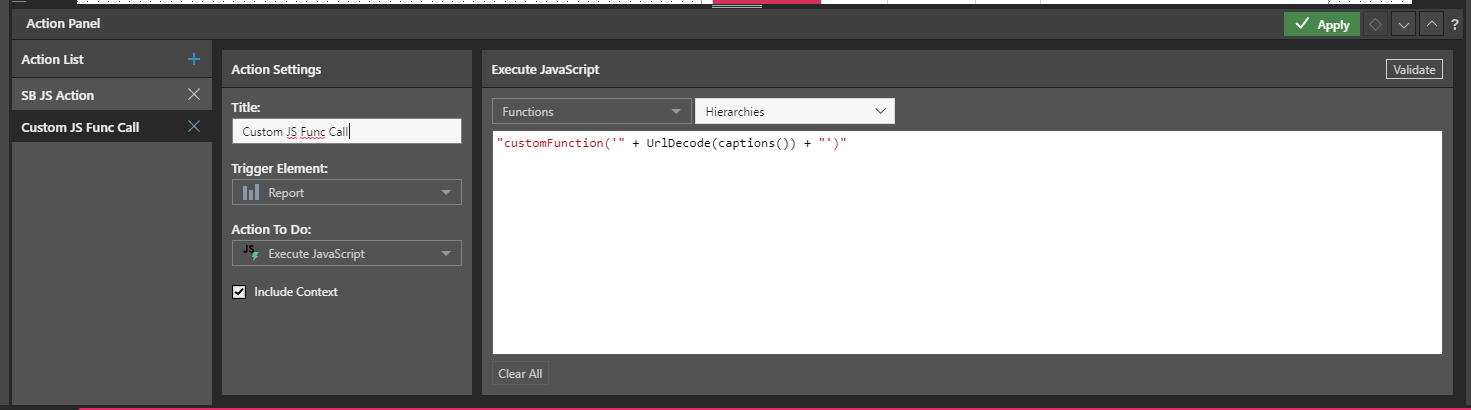
When Execute JavaScript is selected from the Action panel, it appears as follows:
Action Settings
Title
Name your action. If you want to open your action from the right-click Actions context menu (the default option), you will need to know its name later.
Action To Do
From the Action To Do dropdown list, select Execute JavaScript. Once this item is selected, the Execute JavaScript window opens in the Advanced Settings panel.
Trigger Element
Set the trigger element from the query, when this element is "clicked" the action is triggered. This may be a report, hierarchy, measure, member, or cells. The action will only be available for the selected trigger.
Report
The action will be available from any report element; that is, any part of the visualization, its background, or the canvas.
Hierarchy
The action will only be available from the specified hierarchy. Therefore, you should select a hierarchy that has been added to the query.
Member
The action will only be available from the selected member element. Therefore, you should select a member that has been added to the query.
Cells
The action will be available from the cell (data point) level only.
Run From
The Run From dropdown list (blue arrow below) indicates the user interaction that should trigger the action once configured. By default, you can run custom actions by selecting the Trigger Element and choosing the action name from the context menu. This configuration allows you to create additional "click actions" that run the same action on Click, Double-click, or Alt+click:
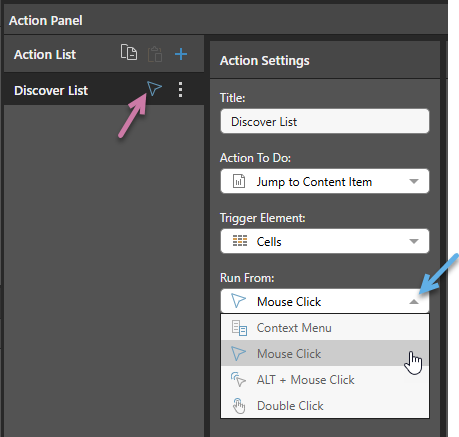
- Context Menu: Default. Where this option is selected, the action can only be run from the Actions context menu.
- Mouse Click: The action runs when you single-click the Trigger Element.
- ALT + Mouse Click: The action runs when you hold the
Altkey and click the Trigger Element. - Double Click: The action runs when you double-click the Trigger Element.
These click actions take precedence over any conflicting click actions set in your User Defaults. If different click actions are defined for the same visual in Discover and Present, the action defined in Discover is used.
Notes: Each click type can only appear once in the Action List. When a click type is defined, the icon for that type is displayed alongside the action's name in the list (purple arrow above).
Context Menu Access
Regardless of your Run From selection, actions remain accessible on the context menu.
Trigger Hierarchies
The Trigger Hierarchies panel allows you to choose which members or hierarchies should trigger the Action:
- Where the Trigger Element is Hierarchy, you can select Measures or one of the Hierarchies in the tree to only offer the Action on the context menu when the item on the visual matches that selected from the tree.
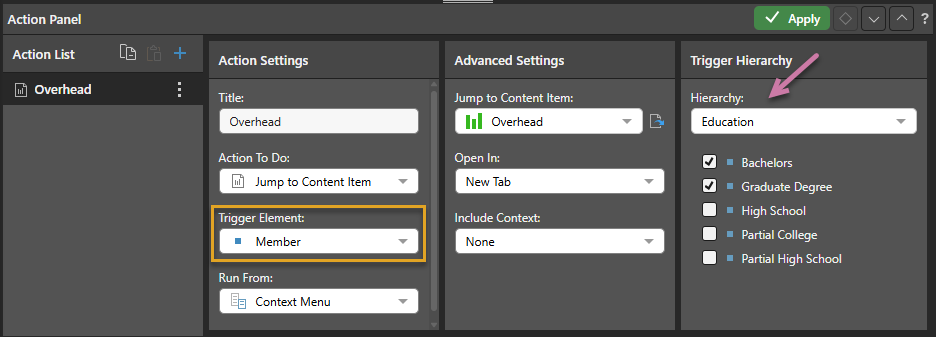
- Where the Trigger Element is Member, you can select Measures or a Hierarchy and then use the checkboxes to select the items that you would like to trigger the Action from.
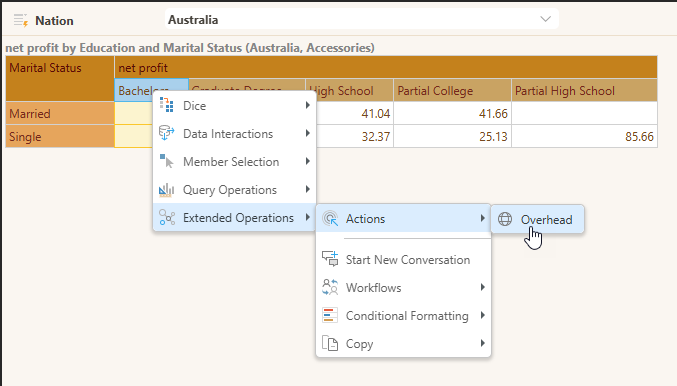
The following selection indicates that the Overhead Action should be available on the context menu only where the selected Members are Bachelors or Graduate Degree from the Education hierarchy:
This affects the context menu as follows when the selected member is Bachelors (one of the selected members in the Trigger Hierarchy):
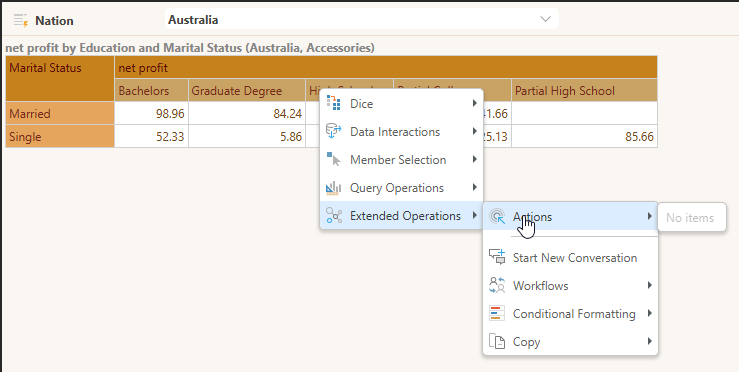
It affects the context menu as follows when the selected menu is High School (one of the members in the Trigger Hierarchy that is not selected):
Execute JavaScript window
Type your expression in PQL in the text editor; the output when the action is selected will be JavaScript.
Tip: You can use the LLM function as part of your PQL statement.
Examples
Calling an Alert
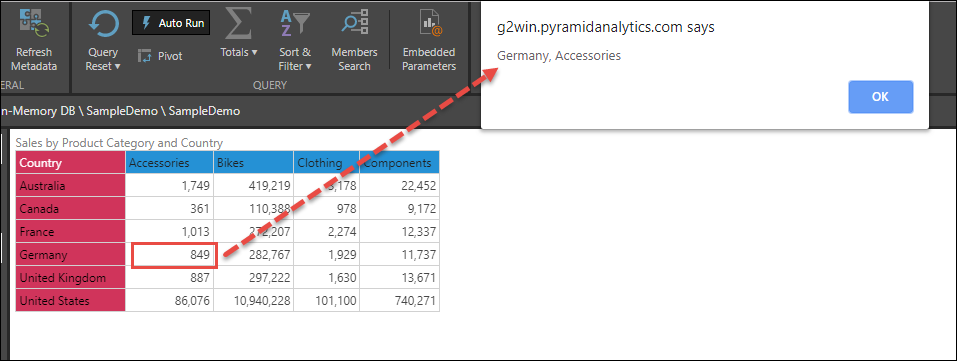
This example is used to call an alert for the clicked item:
"alert('" + UrlDecode(captions()) + "')"When the action is clicked, the label of the given cell appears in an alert:
Changing the DOM Elements When Embedding
Configure a JavaScript action from the Action panel, that can be used to change DOM elements in the embedding environment:
"document.getElementById('js-action-result').innerText='" + UrlDecode(captions()) + "'"

Calling a Custom Function When Embedding
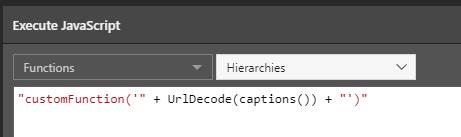
Configure a JavaScript action from the Action panel, that can be used to call custom functions in the embedding environment:
// Function example
function customFunction(input) {
    if(input) {
       var params = input.split(',');
       for(var i = 0; i < params.length; i++) {
           console.log('Param', params[i]);
       }
    }
}

"customFunction('" + UrlDecode(captions()) + "')"