When you add dynamic text to your slide, you are creating a variable whose replacement value is pulled or calculated from your data model and included in your presentation at runtime. For example, if you have a matrix grid that includes returns data, you can include dynamic text that adds a summed value from that table to your slide. Adding a value as dynamic text ensures that it is always based on the latest value from the processed model.
In addition to pulling values direct from your data into the text fields, you can also create dynamic PQL or MDX functions that manipulate the returned data. Note: Dynamic text helps you to draw attention to insights that require attention, placing the data-driven content on the presentation slide.
This topic describes how you can build dynamic text directly inside your presentation. Other dynamic options allow you to replace variables with information about your presentation, replace placeholders with data based on your slicer selections, integrate dynamic infographics or text fields from Illustrate, and so on.
- Click here for more about dynamic assets
Configure dynamic text in Present
Add dynamic text fields to a text box. These fields will be replaced at runtime with values from an existing matrix grid or Tabulate visual area, and can also be transformed using PQL Dynamic or Common expressions.
Before you begin
The data used by your dynamic text is retrieved from either a matrix grid created in Discover or a visual area created in Tabulate. You need to ensure this content is saved (and will therefore available for selection) before you begin this process.
Note: Using Tabulate data allows you to blend queries from multiple data sources into a single grid, allowing the dynamic text to be based on multiple data sources.
Step 1: Add a basic text box
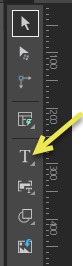
From the Toolbox:
- Click Text (yellow arrow).
- Click the canvas at the point where you would like to add your text box.
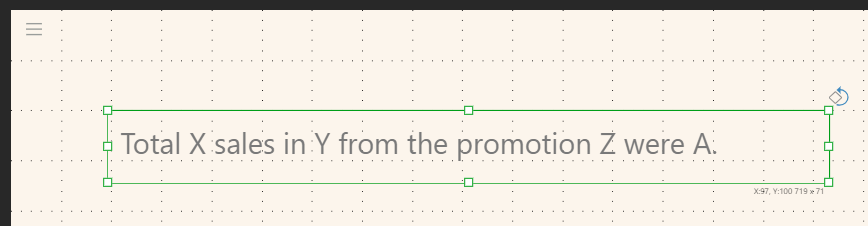
- Type your text into the text box:
A standard-sized text box opens on the canvas.
Total X sales in Y from the promotion Z were A.
Tip: You can select the text box and click Graphic Text from the Component ribbon to allow the text (including the placeholders) to be resized by resizing the text box.
Step 2: Add a dynamic text field
Replace the appropriate temporary value (in our example, A) with a dynamic text field as follows:
- Select or delete the temporary value (A) (green arrow below).
- With your cursor in the sentence at the correct position, click Dynamic Text > Dynamic Text from the Component ribbon.
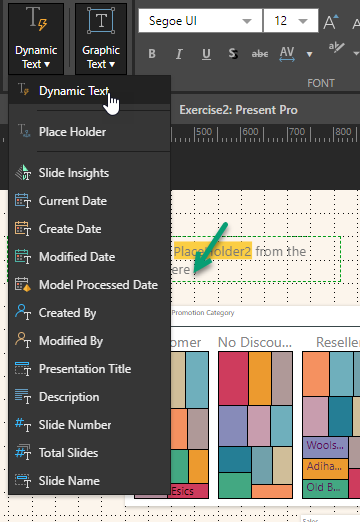
The Dynamic Text panel opens at the bottom of the page.
Step 3: Configure dynamic text
Tip: Once you have added your dynamic text field, you will be able to re-open the Dynamic Text panel at any time by selecting the dynamic text field on the canvas. This is typically highlighted in green, although you can hide this highlighting in your editor.
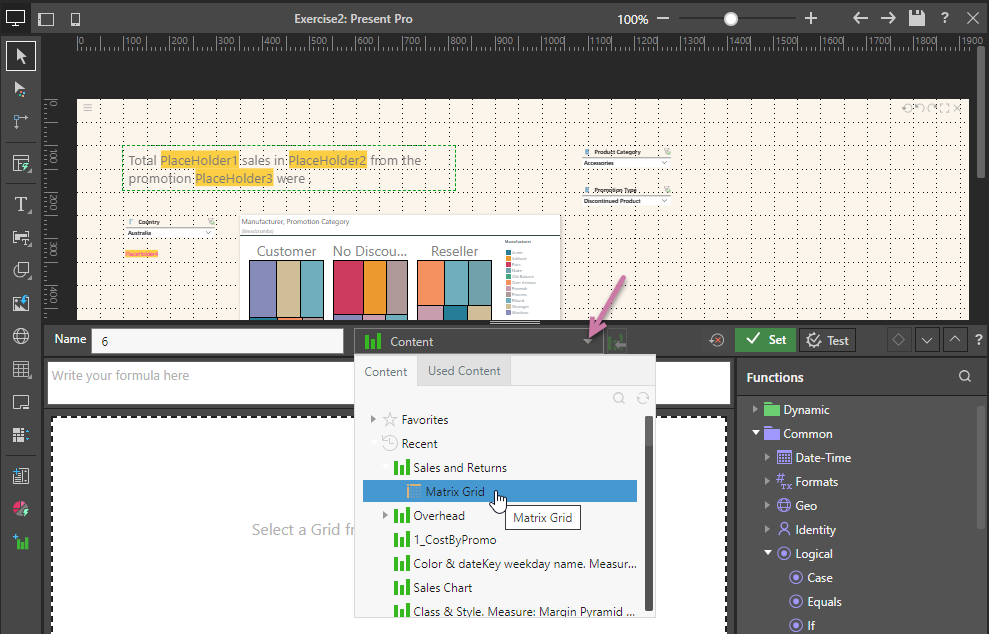
- From the content tree (purple arrow), select the Tabulate visual area or Discover matrix grid that contains your data:
- Create your dynamic text expression in the script editor (green arrow below):
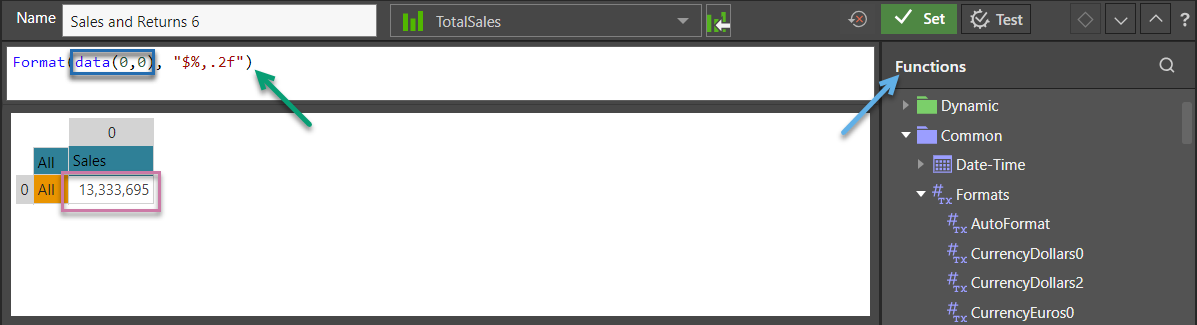
- Use the PQL Functions libraries (blue arrow below) to add PQL expressions to your script. The following example formats the data by prefixing a dollar character and showing the value with two decimal places (CurrencyDollars2).
- Double-click the relevant cells in the grid (purple highlight) to populate the given PQL expression with that data (blue highlight). The following example shows that the data from cell 0,0 is the value for this function.
- Click here for more worked examples of PQL expressions
- Click Test to check that your function is valid.
- Click Set to save your changes and to create a green dynamic text variable on your canvas, indicating where your replacement text will be added at runtime.
Note: A visual or visual area must be saved in Discover or Tabulate for you to be able to use it for dynamic text.
Once selected, the matrix grid or visual area opens in the editor.
Tip: This example manipulates a value from a single cell. You could, alternatively, select labels and use the Dynamic functions to sum columns, look up the maximum row values, and so on. This is done either using the dynamic functions or by selecting the column or row indexes in the editor.
Step 4: Format your text (optional)
It is important to think about the data that will be returned from your function. Will it be the single value, a Boolean, or a paragraph derived from your function? You should format and resize your text and text box accordingly!
You can format the text and text box on your slide by resizing the box, moving it to a more appropriate location on the canvas, changing the font formatting for its content, and so on. As with any other content item, you can use the standard editing options on the right-click menu, the component ribbon, and the canvas to manage your text formatting.
- Click here for more about canvas options (resize, move, and so on)
- Click here for more about formatting from the Component ribbon
Step 5: Manage interactions (optional)
If the matrix grid or visual area used by your dynamic text field are visible on the slide, the "interaction" between the items is shown on the canvas as a purple connector when you use the Interaction Picker to highlight the text field. This connection is edited or deleted in the dynamic text script editor, and not on the right-click.
You can use the Interaction Manager to create or edit interactions between the slicers, visuals, or targets in the presentation and the dynamic text:
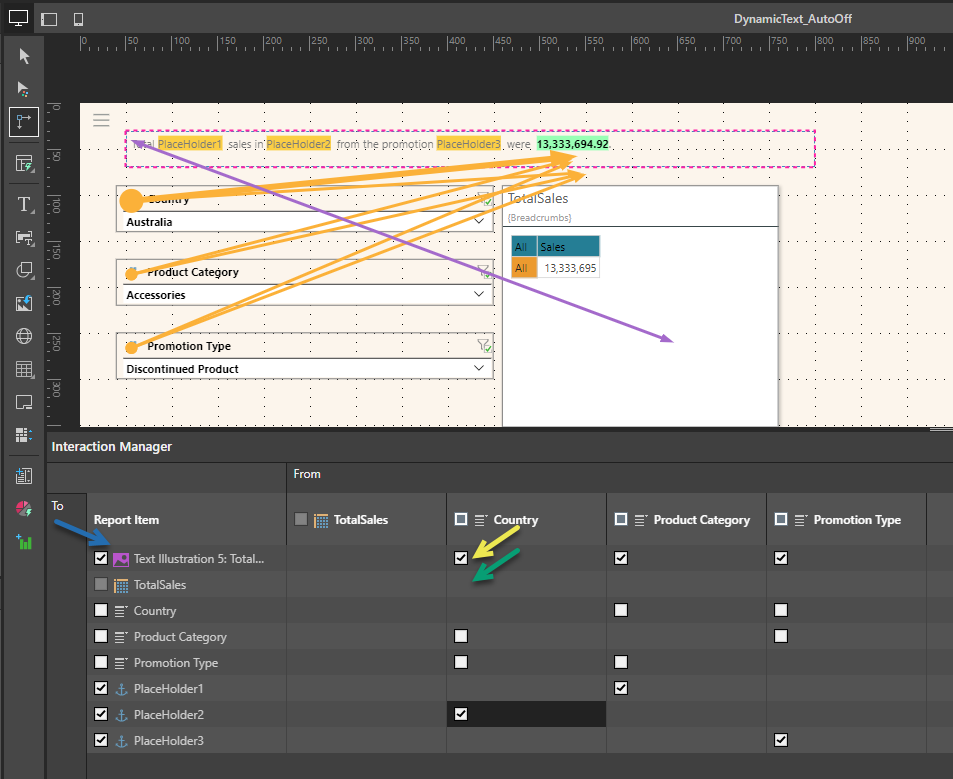
- Creating an interaction between a slicer, visual, or target enables filtering of the dynamic text at runtime. For example, if you connect a country slicer and sales dynamic text field, selecting France from the slicer at runtime filters the content to show only those sales from France.
- The dynamic text field is represented in the list of Report Items as a Text Illustration (blue arrow below).
- You can create an interaction between a slicer, visual, or target and either the Text Illustration (yellow arrow) or, if it is also on the slide, the matrix grid or visual area that drives the dynamic text functionality (green arrow). In either case, select the checkbox at the intersection between the two items (From and To) to create the interaction. You cannot select both intersections, since they are effectively the same.
Step 6: Check your dynamic text at runtime
You should always check that your changes have the effect you intended. Open the presentation at runtime by clicking Run or F2 and update any interaction options to check the contents of the dynamic text responds as expected. For example, select the three options on the slicers to filter the sales total that your dynamic text field represents by your selected country, product category, and promotion category:

Dynamic text field PQL examples
You can customize your dynamic text using PQL from the Common and Dynamic libraries:
The functions in the Dynamic library can be used to apply Markup to your value, to make selections from or manipulate content from the grid, column, or row, or to return smart (AI-driven) content. For example, you can use Italics(data(0,0)) to transform the returned value from cell 0,0 into italic text or Format(TotalColumn(1), "%,.2f") to get the total value from column 1 and format it with two decimal places. The functions in the Common library can be used to manipulate the returned value, for example, you can use LLM("what is the meaning of" + label(1,0,0)) to use the underlying LLM to return a long-form text description of the "Customer."
In the Dynamic text field, click the label that you want to add to your slide (purple arrow), and with the label value selected, double-click the Bold() function from the Functions list to produce the following:
Bold(label(1,0,0))

At runtime, the label "Customer" is added to your slide and bolded.
In the Dynamic text field, double-click the column index (purple arrow) to add a totalColumn placeholder, and with that value selected, double-click the Number2 function (yellow arrow) from the Functions list to produce the following:
Format(totalColumn(0), "%,.2f")
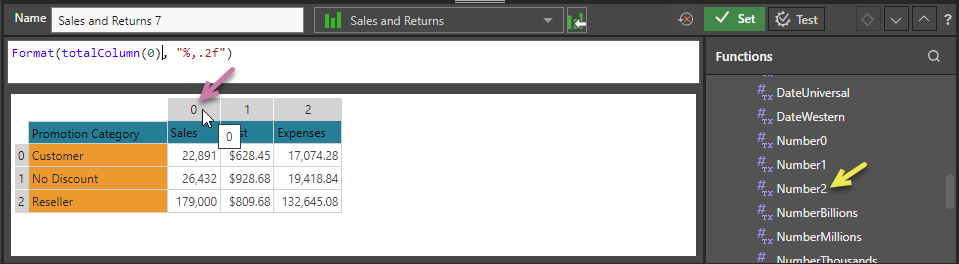
At runtime, the values in column 0 are totaled, and that total value is added to your slide as a number with two decimal places.
Tip: You can alternatively select the total column function from the Dynamic functions library.
Related Tasks
- Empty Strings: If the data point that underlies your dynamic text is empty, and empty strings is disabled (the default), that dynamic text will simply appear blank. To replace the value with the string "EMPTY" instead, enable the Empty Strings option.
- Highlights: Select whether to show dynamic text (from the data model or created as variable text fields) with a highlighted background.
- Auto Translate: You can automatically translate any dynamic text in your presentation using Pyramid's AI-driven Auto Translate feature. This is done by clicking the Auto Translate option on the Design ribbon and configuring the Auto Translate tool.