Existing slicers and parameters that you have access to will appear in the Content panel. To use these, simply drag them onto the presentation slide.
Adding slicers from a discovery to a presentation is a simple process, achieved in just a few steps.
Adding Existing Slicers
Step 1: Locate the slicer in the Content Panel
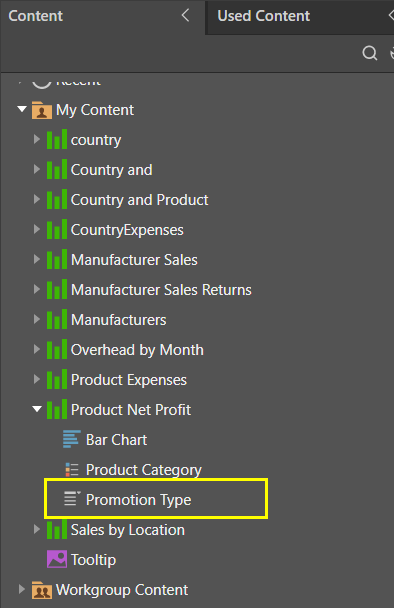
To add existing slicers to slides in the presentation, first locate the required slicer in the Content panel; you'll need to expand the visual in the Content tree to find its associated slicer (yellow highlight below).
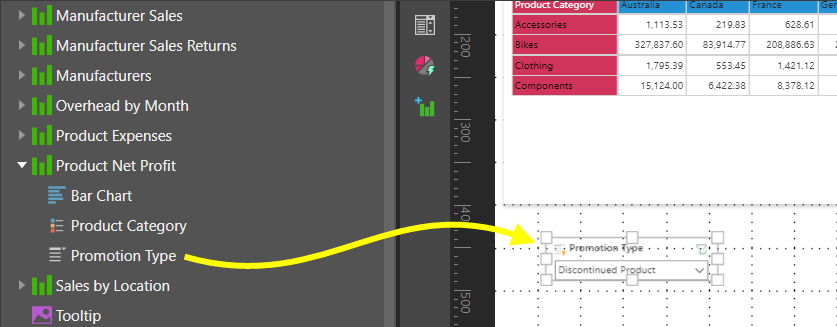
Step 2: Drag the slicer onto the canvas
Drag the slicer and drop it onto the canvas (yellow arrow below).
Step 3: Add or check your interactions
If needed, you can add interactions between the slicer and any visualizations that the slicer should filter:
- If Auto Interact is selected on either your Presentation or Slides ribbon, you may not need to add an interaction manually. The interaction should have been created automatically when you added the slicer.
- If Auto Interact is not selected, you should open the Interactions Manager from the Present ribbon and select the checkbox at the intersection between the slicer and the visual it should affect.
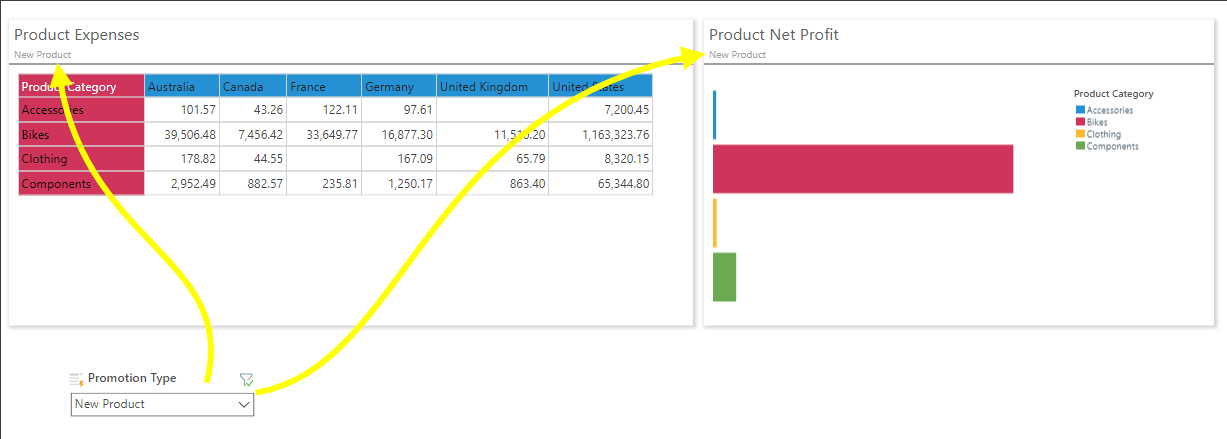
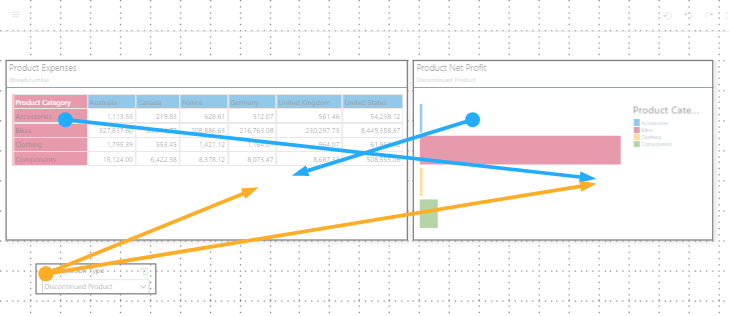
In either case, you should check the interactions are correct by selecting Show Interactions on one of the same menus; this visualizes the interactions using arrows. For example, with Show Interactions enabled, the orange interactions in the following image show the slicer filtering the Product Expenses and Product Net Profit visuals:
To test your slicer, launch the presentation at runtime (F2) and change its selections: