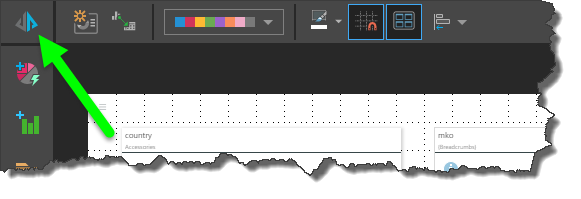
To launch your presentation in runtime, click the Run Presentation button (green arrow below); this will take you from edit mode to runtime. In runtime, you can navigate through your presentation slides, and dynamically interact with your presentation content.
Runtime Navigation
When the presentation is launched in runtime, several navigation options are exposed to assist you in navigating the presentation.
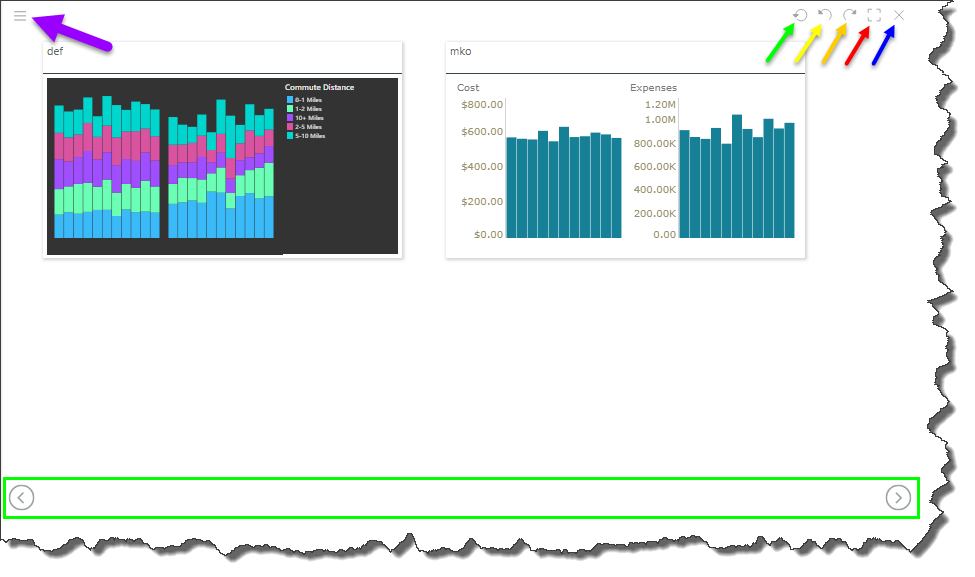
- Reset: undo any dynamic interactions or changes made in runtime and reset the presentation to its saved state (green arrow above).
- Undo: undo the previous action (yellow arrow).
- Redo: redo the previous undone action (orange arrow).
- Full Screen: view the presentation in full screen mode (red arrow).
- Close: close presentation runtime and return to page you were on previously (blue arrow).
- Previous/ Next Slide: use the arrows to navigate to the previous or next slide (green highlight).
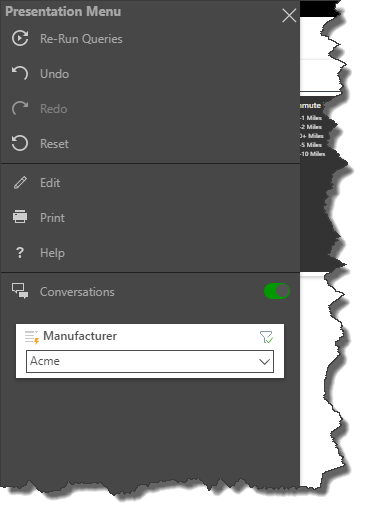
Presentation Menu
Open the Presentation Menu (purple arrow above) to expose the following options:
- Re-Run Queries: re-run the queries in the presentation to ensure the data is up to date.
- Undo: undo the previous action.
- Redo: redo the previous undone action.
- Reset: undo any dynamic interactions or changes made in runtime and reset the presentation to its saved state.
- Edit: open the presentation in edit mode.
- Print: export and print the presentation.
- Help: go to the user help guide.
- Conversations: toggle to show or hide conversations at the presentation level.
- Slicers: hidden slicers appear in the Presentation Menu, as do slicers that have been added to a slide that is not currently being viewed. You can make a slicer selection from any slicers in the Presentation Menu.
Context Menus
Right-click to expose the context menu for the given presentation component. The context menus display a range of functions that are related to the component on which the menu was opened.
Slide Background
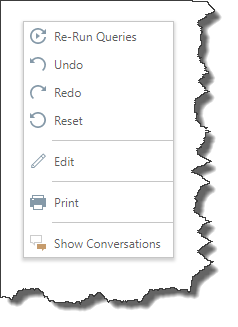
Open the context menu from the slide background to expose the following options:
- Re-Run Queries: re-run the queries in the presentation to ensure the data is up to date.
- Undo: undo the previous action.
- Redo: redo the previous undone action.
- Reset: undo any dynamic interactions or changes made in runtime and reset the presentation to its saved state.
- Edit: open the presentation in edit mode.
- Print: export and print the presentation.
- Show Conversations: show conversations at the presentation level.
Visualization Background
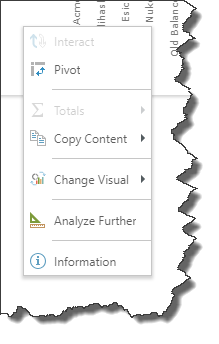
Open the context menu from the background of a visualization to expose the following functions:
- Interact: apply cross filtering to your selections.
- Pivot: switch the x- and y-axes (or columns and rows) to display the data in a different way.
- Totals: add totals to a grid visualization.
- Copy Content: copy the visual's raw data.
- Analyze Further: open the visualization in Discover Lite, where you can edit it.
- Information: open the visualization's information panel to statistics and metadata relating to it.
Visualization Data Point
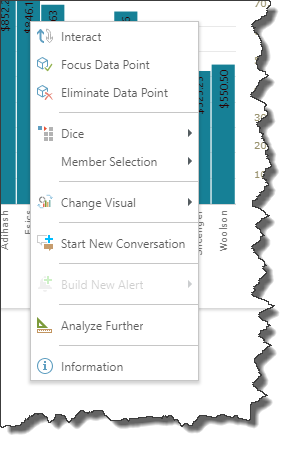
Open the context menu from a data point in a visualization to expose functions that enable you to dynamically interact with the visual. Click here for a full list of interactive runtime functions, and links to documentation for each function.
Visualization Panels
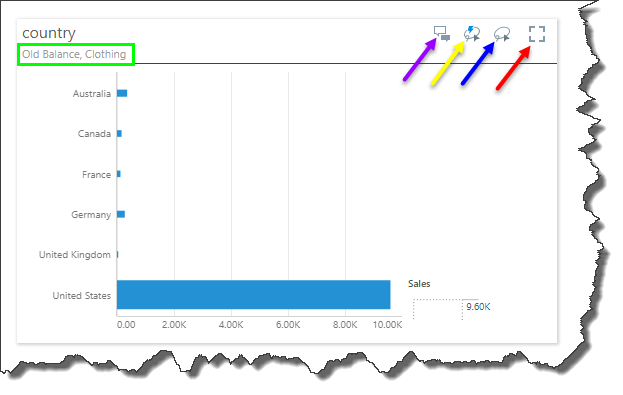
If panels were enabled in edit mode, they will display important information and expose a few key functions in runtime.
The visual's panel will display the breadcrumb trail (green highlight above), which shows any filters, dicing, or drilling applied to the visual. It also shows the sanctioned model watermark if the visual was made from a sanctioned data model.
It will also expose the panel tools: conversations (purple arrow), dynamic lasso tool (yellow arrow), lasso selection tool (blue arrow), and full screen (red arrow).
Dynamic Filtering and Highlighting
Dynamic filtering can be performed from a slicer, and you can also perform cross-filtering and cross-highlighting on multiple visuals. Click here to learn more.