The following is an example for creating a dynamic distribution list based on data mapping, which will be distributed through the Bulletin Board.
- Click here to learn about file mapping
Data Mapping
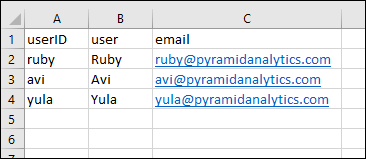
In this example, the data source contains a distribution table and a security table. The distribution table lists three user IDs, along with corresponding user and email details for each:
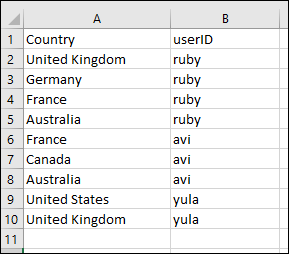
The security table indicates which countries each userID can see:
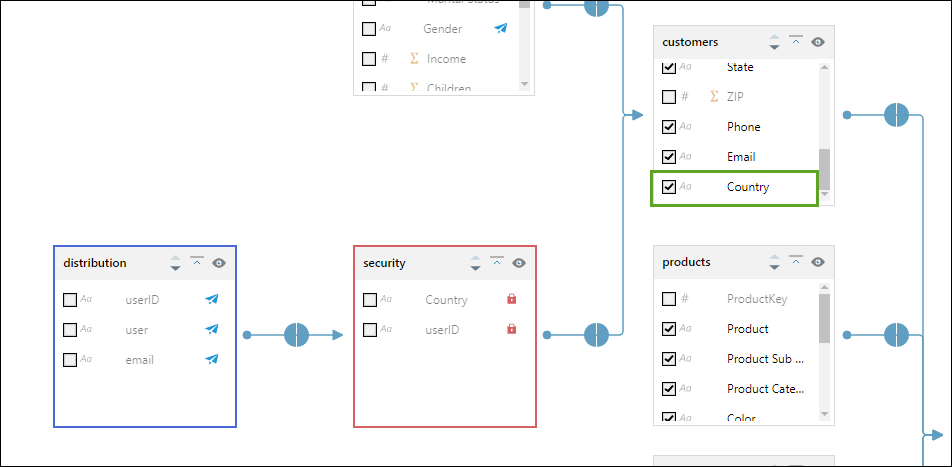
In the Data Model component, the distribution and security tables were set. Because the Country hierarchy appears in the security hierarchy, it was automatically hidden from the customers table (green highlight below); be sure to enable the Country hierarchy from the customers table so that it can be added to queries.
Walkthrough Steps
Before you begin
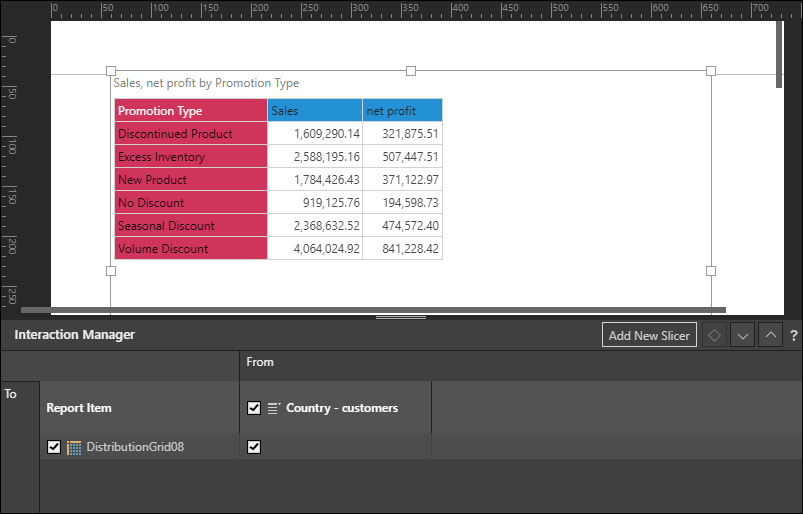
In Discover, build a grid showing Sales and Net Profit by Promotion Type. Add the grid to a new publication, and add the Country hierarchy as a new slicer. Save the publication and configure the schedule.
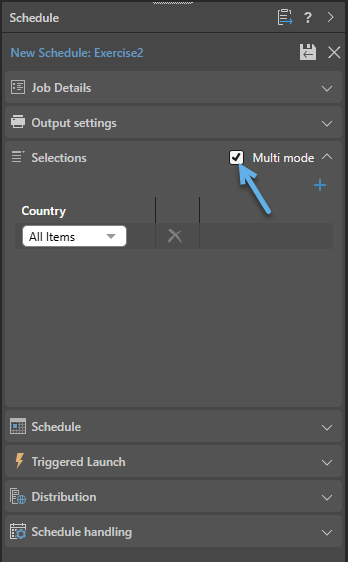
Step 1: Configure your selections
Under Selections, make the required slicer selections. A different copy of the publication will be generated for each specified slice or slice combination.
Step 2: Configure your Distribution
Under Distribution, select the Bulletin Board tab and make the following selections:
- Choose Use Dynamic List.
- Choose whether to distribute to Roles or Users.
- Select the slicer that should be used to render the publication dynamically.
- Select Data Model as the mapping method.
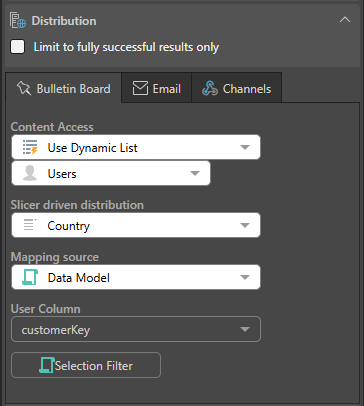
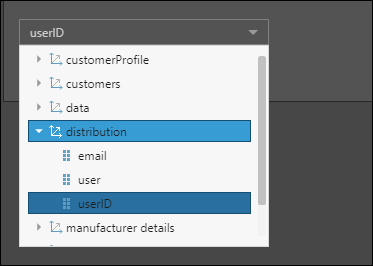
Under User Column, find the distribution dimension and select the required distribution hierarchy:
Step 3: Build your expression
Click Selection Filter to open the PQL Editor and review or edit the expression:
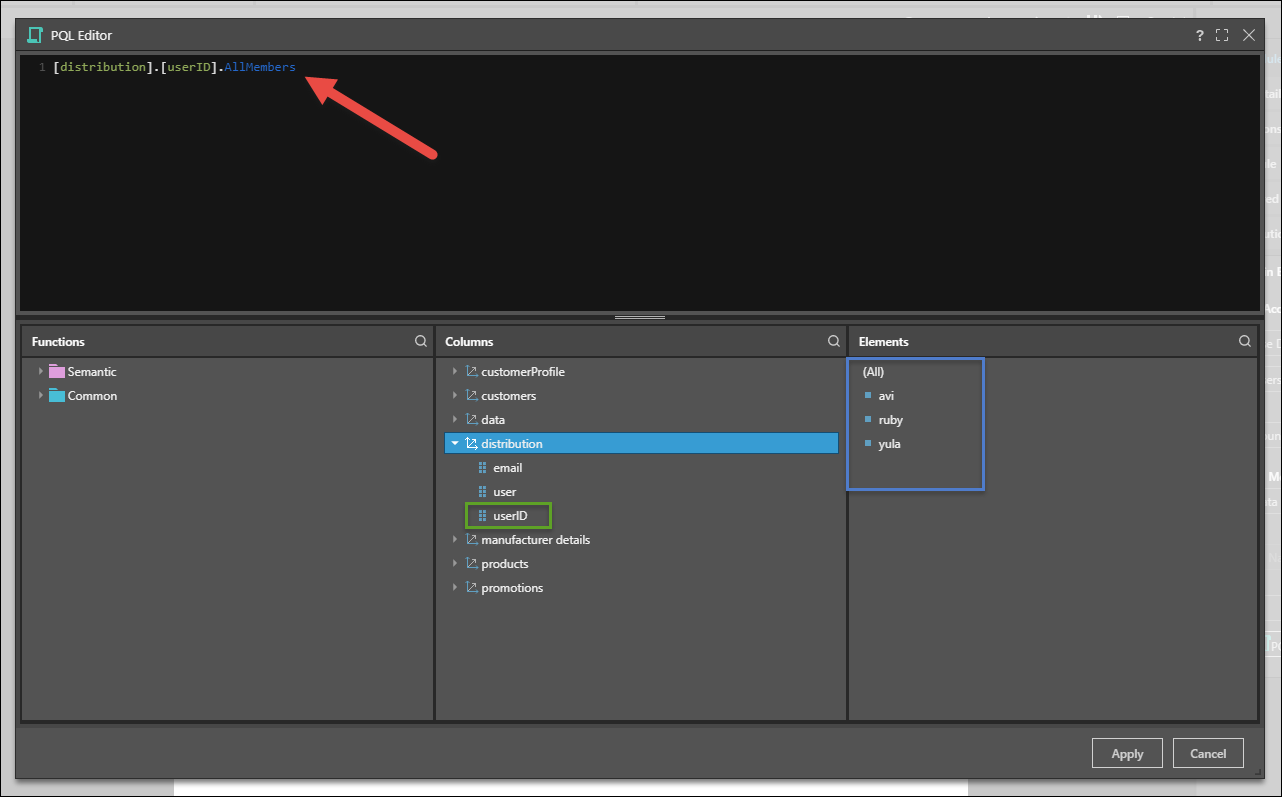
By default, the hierarchy that you selected in the last step appears in the PQL Editor as a PQL expression; you can click apply to distribute to the given hierarchy, or you can continue to edit the expression before applying it.
In this example, we see that the userID hierarchy contains three users; their user names are listed in User hierarchy, and their emails in the Email hierarchy.
Step 4: Download the publications
Go to the Publication Feed to download the publications; in this example, we see that Ruby was sent four copies of the publication, each copy rendered according to a member element to which this user was designated:
