New Slicer
While you can add existing slicers from the Content panel, you can create a new slicer on the fly, from within Present, and add that slicer to your presentation. This affords a lot of flexibility, as you don't need to plan ahead by building slicers in Discover; instead, you can build slicers as you need them while building your presentation. This also gives presentation-builders the ability to create slicers rather than relying on report-builders to create and share them.
Build a New Slicer
Adding a new slicer to the canvas is a simple two-step process; open the New Slicer menu and select the data model containing the hierarchy that should be used as the slicer. Next, select the relevant hierarchy to add it to the canvas as a slicer.
The Advanced Slicer Wizard offers more options for building and formatting new slicers, and is useful if the basic New Slicer menu doesn't meet your requirements. For instance, it enables you to select the slicer type, and set advanced slicer settings, including the use custom sets and cube hierarchical structures as the slicer.
Example
Step 1. New Slicer Menu
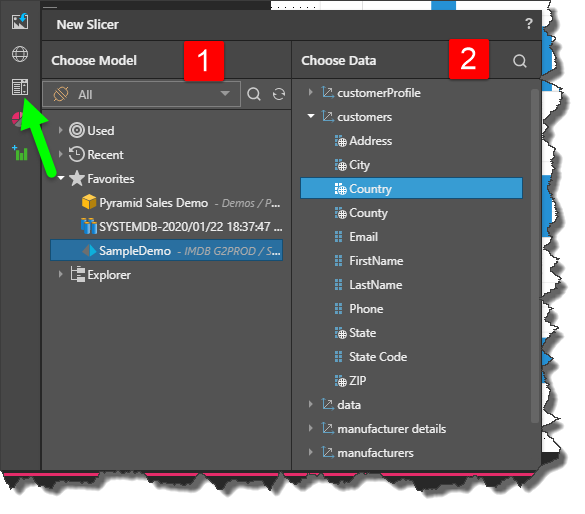
Open the New Slicer menu by clicking the Add New Slicer button (green arrow below).

Step 2. Choose Model
From the Choose Model panel, select the relevant data model.
Step 3. Choose Data
From the Choose Data panel, open the relevant dimension and select the hierarchy that should be used as a slicer.
Step 4. Interactions
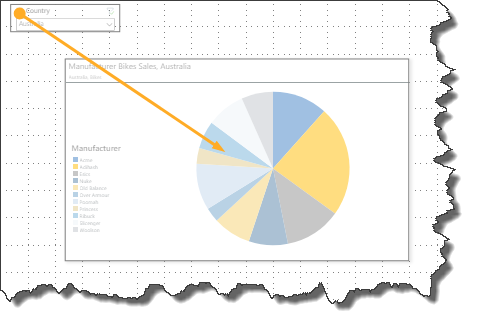
Ensure the slicer has an outgoing interaction to any visuals, slicers, or other content items that should be filtered by it.

Step 5. Position
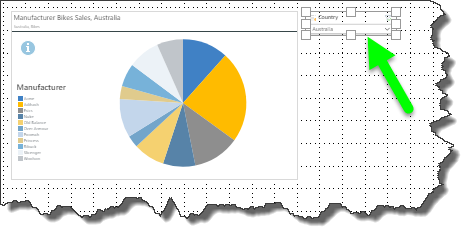
Position the slicer as required.

Step 6. Runtime
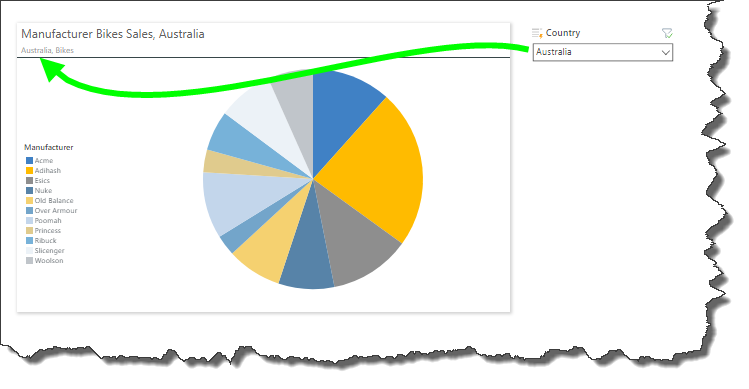
Launch the presentation in runtime to use the slicer; visuals filtered by the slicer will display the currently selected slicer elements if the panels are enabled.
