Adding text to your presentation can provide additional information and context to your slide. There are two types of text that can be added to Lite Presentations: Static text and Variable text fields. Use static text to add your own titles, subtitles, and captions where needed. Use variable text fields to add variables to your slide that are dynamically replaced at runtime with information from the presentation, including values such as the slide name, slide number, presentation name.
Tip: There is even a Slide Insights option, which adds AI-driven insights as a variable text field!
Adding text to your presentation
Adding static text
To add static text to your presentation:
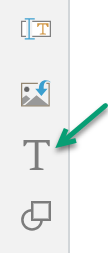
- Click Text.
- Drop your text field onto the canvas:
- Click anywhere on the canvas to drop your field at that location.
- Drag your cursor to draw your field on the canvas. (Use this option to customize the size of your field.)
- Type or paste your required text into the text box.
Tip: You can move and resize the text field at any time, so don't worry about this being the final location.
Adding variable text fields
In addition to adding Static text fields, you can also add variable text fields to your presentations. These text fields add variable values to your presentation that are dynamically replaced at runtime with information from the presentation.
To add variable text fields to your presentation:
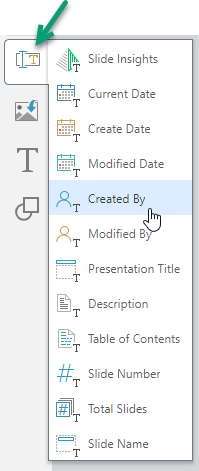
- From the toolbox, right-click Add Text Field (green arrow) and select the required text field from the menu options.
- Drop your Text Field onto the canvas:
- Click anywhere on the canvas to drop your field at that location.
- Drag your cursor to draw your field on the canvas. (Use this option to customize the size of your field.)
The options are described below.
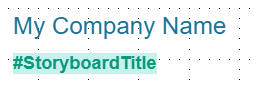
When you are designing your presentation, text fields appear as variable tags (for example, #StoryboardTitle), typically with a blue background highlight:
Text field types
You can add the following basic text field variables:
- Current Date: Today's date.
- Create Date: The date the presentation was created.
- Modified Date: The date the presentation was last modified.
- Created By: The name of the user who created the presentation.
- Modified By: The name of the user who last modified the presentation.
- Presentation Title: The title that the presentation was saved with.
- Description: The description that was added to the presentation when it was saved. Note: This description is captured in the Save dialog.
- Slide Number: The "page" number for this slide. For example, "1" if this is slide 1 of 3.
- Total Slides: The total number of slides in the presentation.
- Slide Name: The name of the slide as defined in the slides panel.
Slide Insights
Adds AI-driven slide-wide insights to a paragraph of text dynamically, based on the slide content.
Insights text is "analytic" describing the content of the page, including any applied filters and optionally also incorporating a "fairness analysis." The insights content is typically a paragraph or two, although this may depend on your Settings.
- Click here for more information about Insights content
Table of Contents
Adds a table of contents to the slide.
- Click here for more information about Tables of Contents
Tip: When you add Slide Insights or Tables of Contents, you should be aware that they may require more space on the page than the default text box allows. You should resize the text box accordingly.
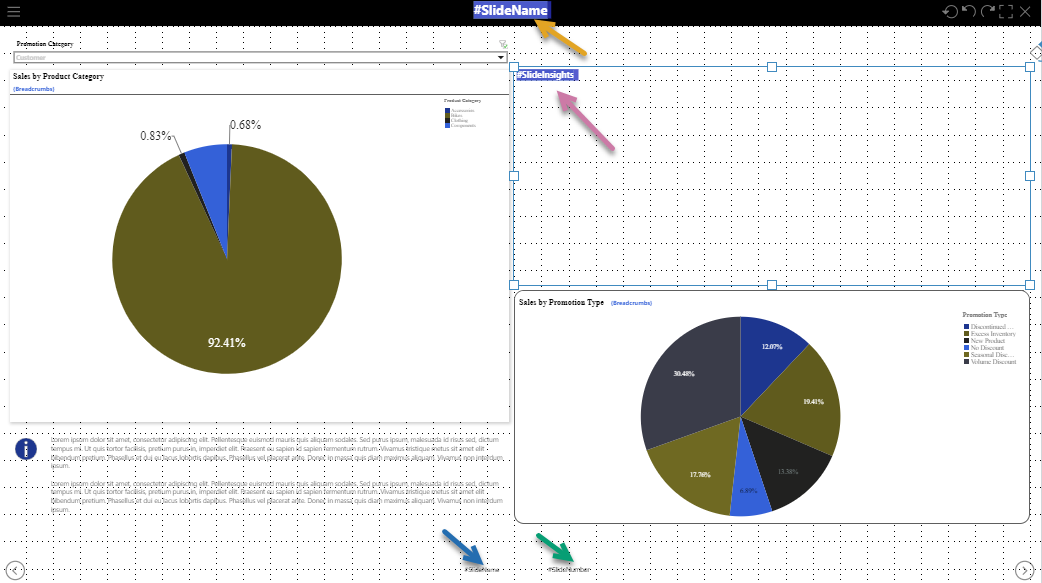
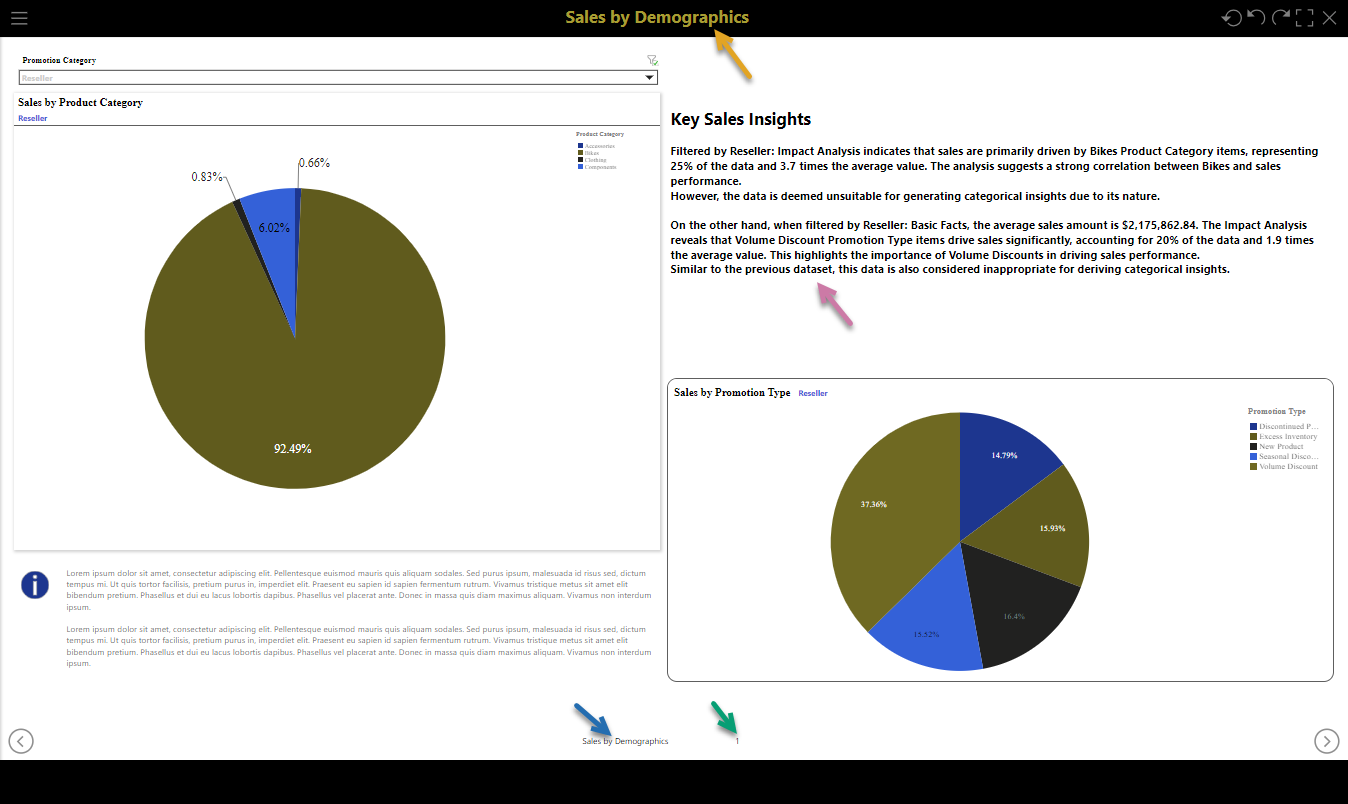
The following examples shows a slide at design time with text field variables and then at runtime with those text fields rendered with replacement values:
- Slide Title (#SlideName) - Orange arrow - The name of the slide in the Slides panel.
- Footer values: Slide Name and Slide Number (#SlideNumber) - Blue and green arrows - Note: This footer content is part of the theme and cannot be edited in Present Lite.
- Slide Insights panel - Purple arrow - The AI-driven Slide Insights, populated at runtime in response to your slide content and selections.
Design Time (Present Lite):
Runtime:
Formatting your text
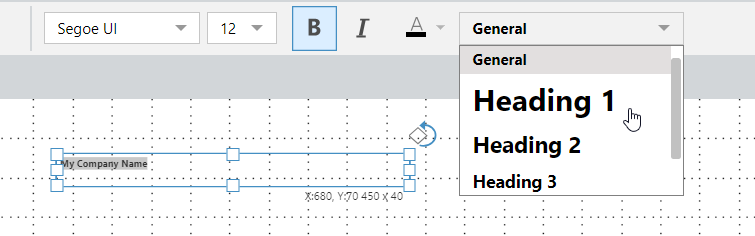
You can select the text box or, for static text, highlight some text to apply styling changes. You can use the ribbon options to change the font type, emphasis (bold or italics), color, and heading style. You can also use the right-click options and text box handles to resize and rotate the box, move it to a more appropriate location on the canvas, and align or distribute it with reference to other items on the canvas.
- Click here for more about formatting from the canvas and context menu
- Click here for more about formatting from the ribbon
Note: There may be text boxes on your slides that you cannot select. These text boxes are part of your underlying theme and cannot be selected, edited, moved, or deleted in Present Lite.
Advanced options
Depending on your permissions, you may also be able to make your text dynamic or graphic in Illustrate. If this has been enabled for you by the Admin, the Open in Illustrate option will be available on the right-click context menu.
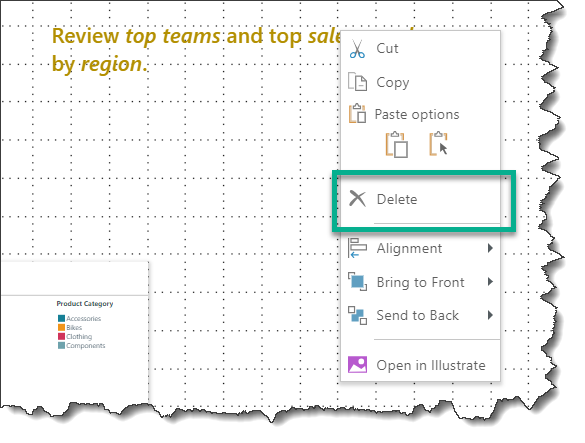
Deleting Text
To delete text, right-click the text box and click Delete from the context menu: