You can add static images and shapes to your publications as "design elements." They can be useful as logos, icons, diagrams, and so on and can also be added to pages to illustrate some content; for example, an icon highlighting some text as a Warning.
Note: There may be shapes, variables, or images on your canvas that you cannot select. They are part of your underlying theme and cannot be selected, edited, moved, or deleted in Publish Lite.
Adding graphics to your publication
Opening the page
Open the page that you want to add your image or shape to from the Pages panel.
From the Pages panel:
- Select the relevant snapshot.
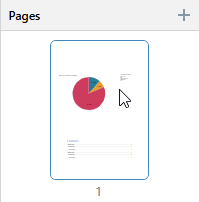
The selected page is highlighted in the Pages panel and opens on the canvas for editing.
Tip: You can also add a new page by clicking the Plus (+) icon at the top-right of the Pages panel.
The page opens on the canvas.
Adding "preset" shapes
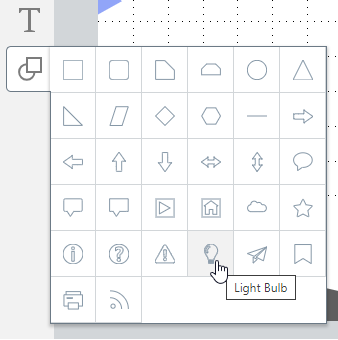
Shapes are preset graphics that you can add to your publication as design elements. For example, they may act as banners that are placed behind some text to make it stand out, or an icon (such as the light bulb symbol) that is used to draw attention to a text box that includes some conceptual information.
From the Toolbox:
- Right-click Shapes and select the required shape from the options:
- Click the canvas at the point where you would like to add the shape.
Clicking creates a standard size item. Alternatively, you can drag your cursor on the canvas to indicate the size that the item should be when dropped.
The shape is added to the canvas and can be moved, re-sized, aligned, copied, cut, or pasted.
- Click here for more information about formatting shapes
Adding Infographics
Dynamic infographics (illustrations and text fields) that were built in Illustrate and saved to the content management system, can be added to your canvas from the Content folders.
Adding Images
Import your own static images into your publication, where they can be used as static design elements like logos or icons.
There are two ways to import your own images:
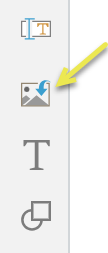
- From the Toolbox, click the Import Images button (yellow arrow below), then find and select the required image in its folder location.
- Use Windows Explorer to find the image in its folder location and drag and drop it onto the page canvas.
Supported Image Formats
The following image formats may be imported:
Raster Images
- PNG
- JPEG
- BMP
- GIF
Vector Images
- SVG
- SVG_XML
Editing shapes and images
Format your shape or image
Once added, both shapes and images can be moved, re-sized, aligned, copied, cut, or pasted on the canvas and using the options on the right-click context menu.
Selecting a shape on the canvas also enables the stroke and fill color options on the ribbon; use these options to change the border and fill color of the selected shape:

You can also use the right-click options and selection handles to re-size and rotate the box that contains your image, moving it to a more appropriate location on the canvas, and aligning or distributing it with reference to other content items.
- Click here for more about formatting from the canvas and context menu
- Click here for more about formatting from the ribbon
Advanced options
Depending on your permissions, you may also be able to make your static images "dynamic" in Illustrate. If this option has been enabled by your Admin, Open in Illustrate is available on your right-click context menu when your text field, shape, or image is selected on the canvas.
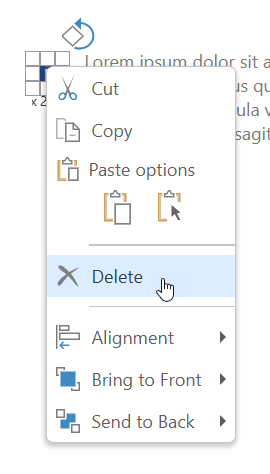
Deleting images or shapes
To delete images or shapes, select them on the canvas and right-click Delete: